LEISURE 22
reFIT


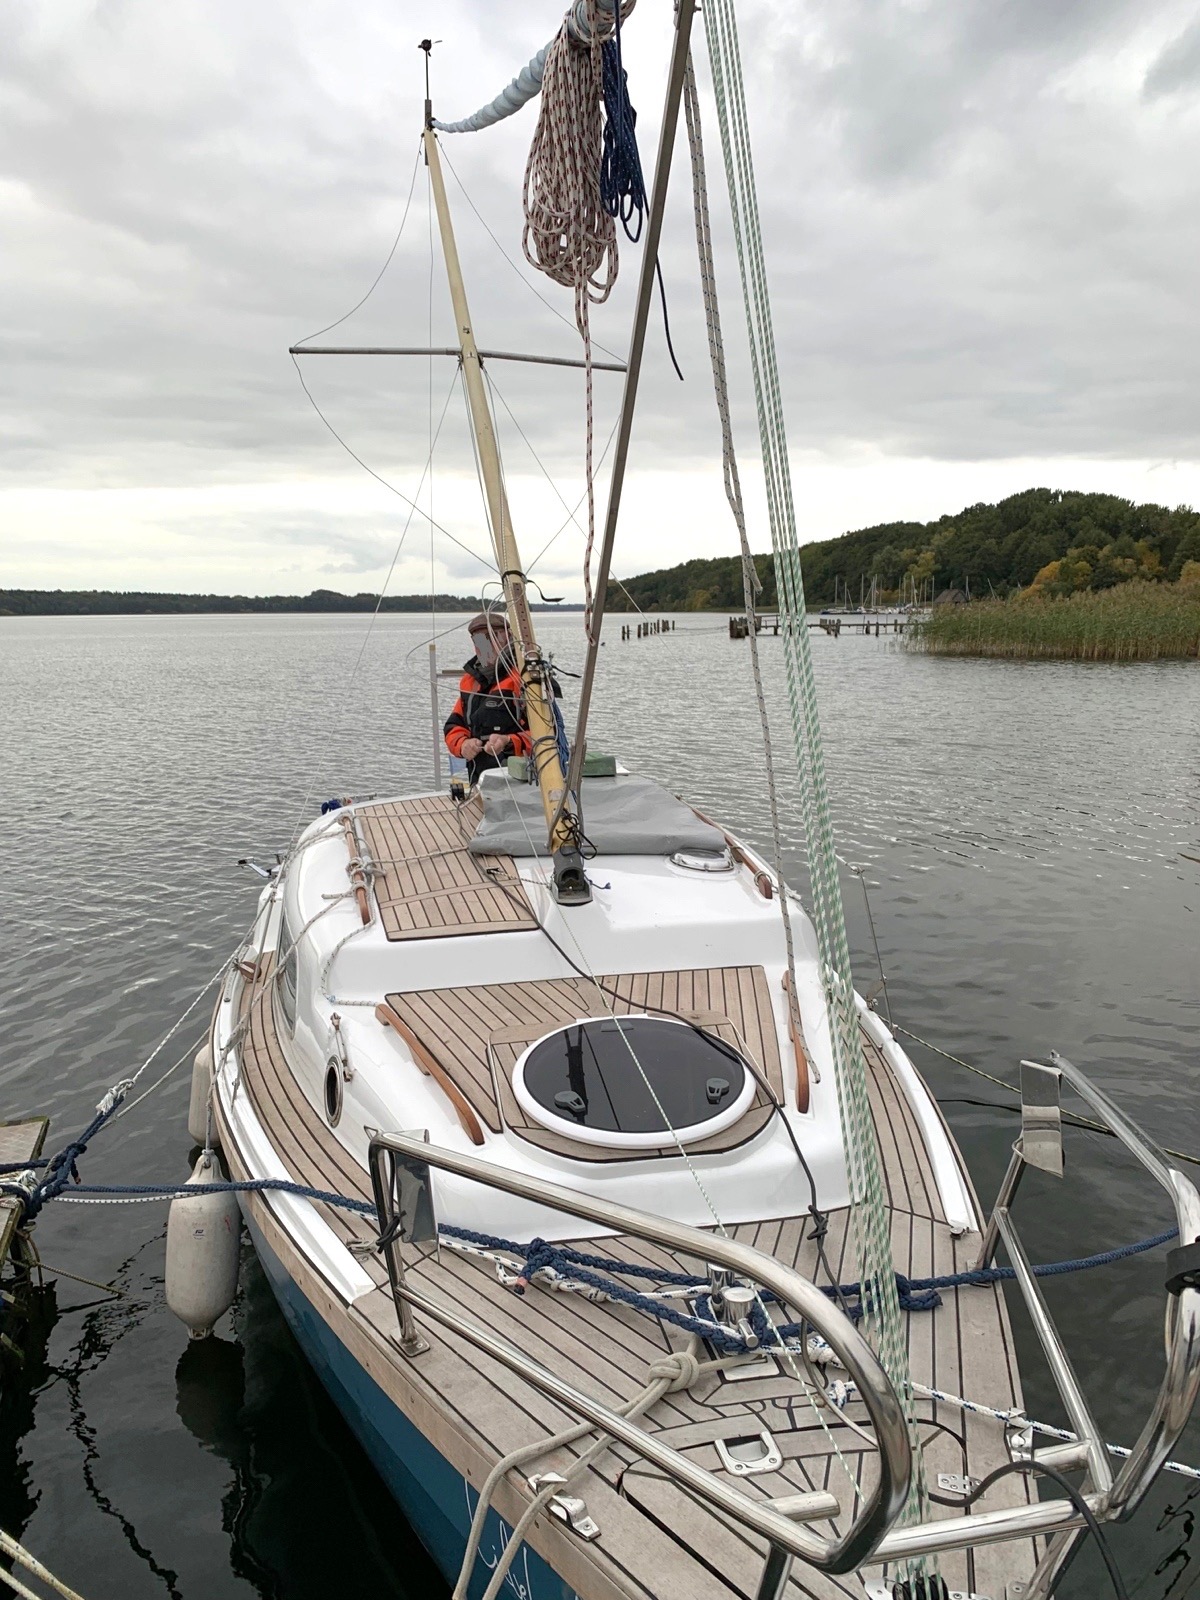
Abgehalftertes Segelschiff goes to Lieblingsdaycruiser
The
mast lowering device
In the coming months, planned until the end of December 21, I will be documenting the construction of my very simple mast lowering device to make it easier to set up and lower the mast.
Of course, a replica is your own responsibility, as I only document the production of my mast lowering system and do not assume any liability for replicas!
The dimensions and materials given by me here refer specifically to the requirements, the age-appropriate condition and the forces of my boat!
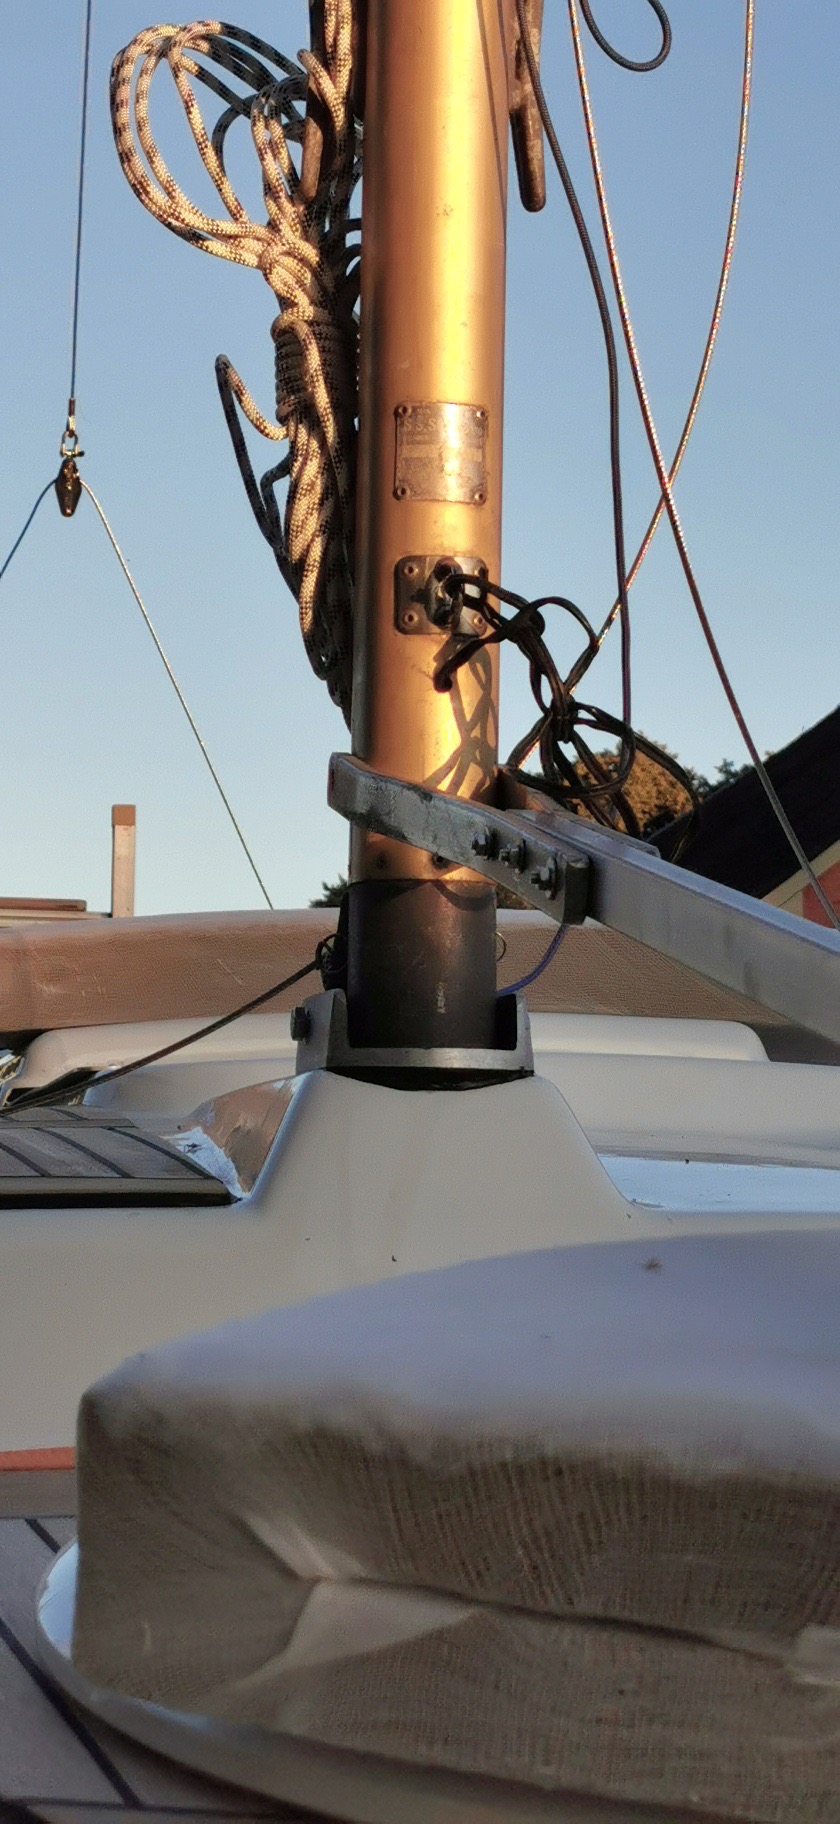
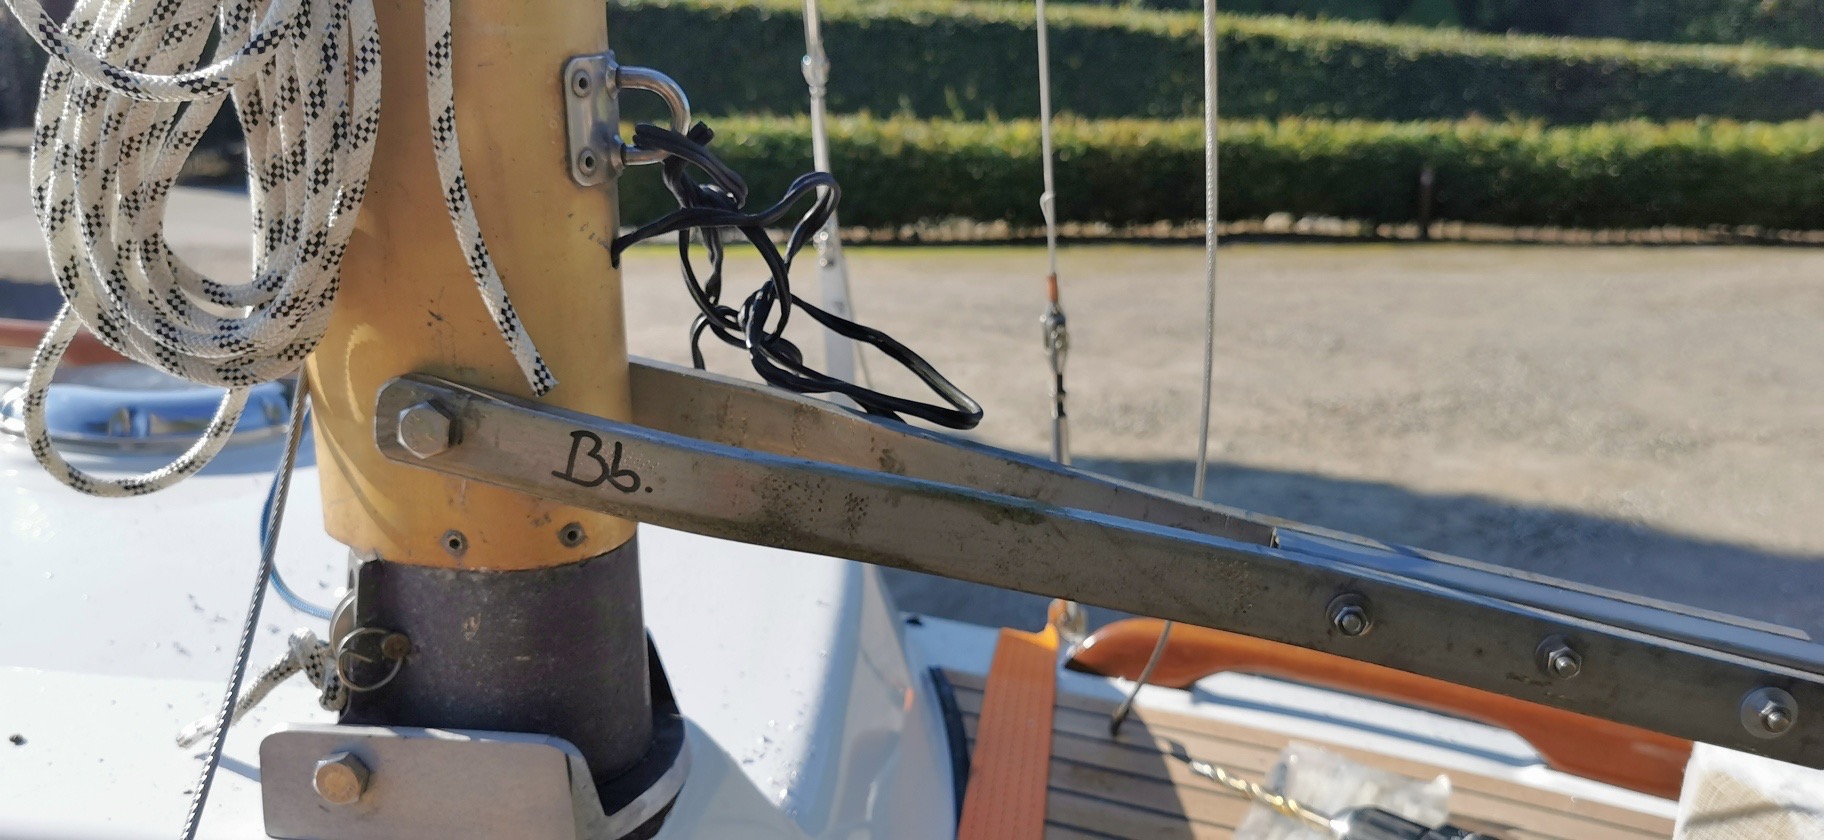
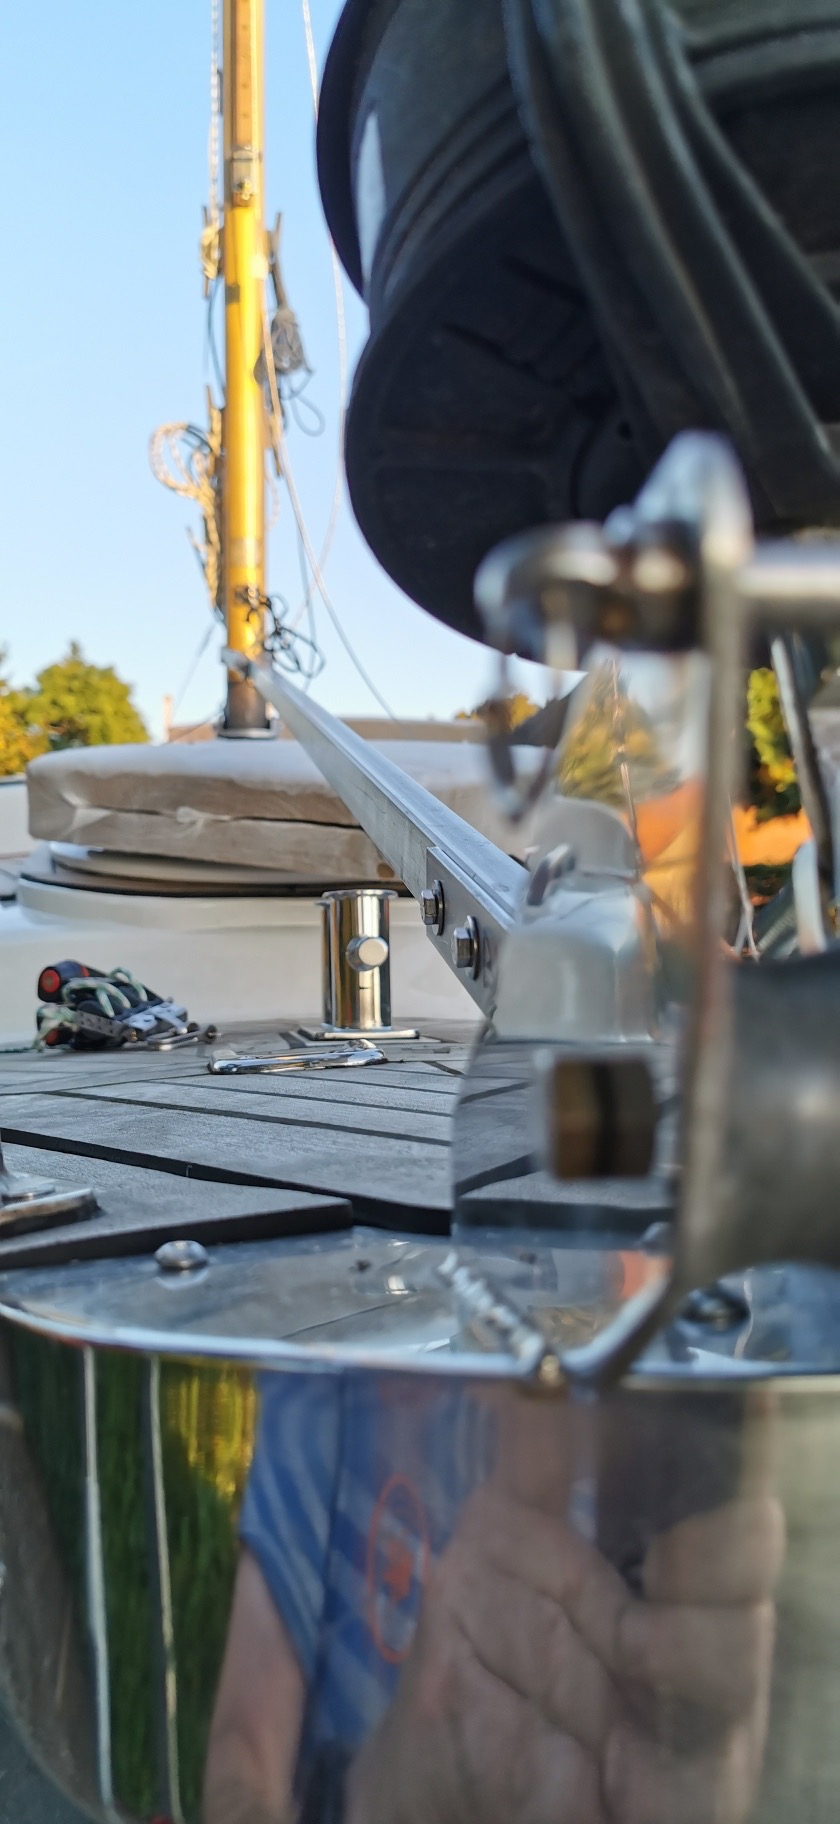
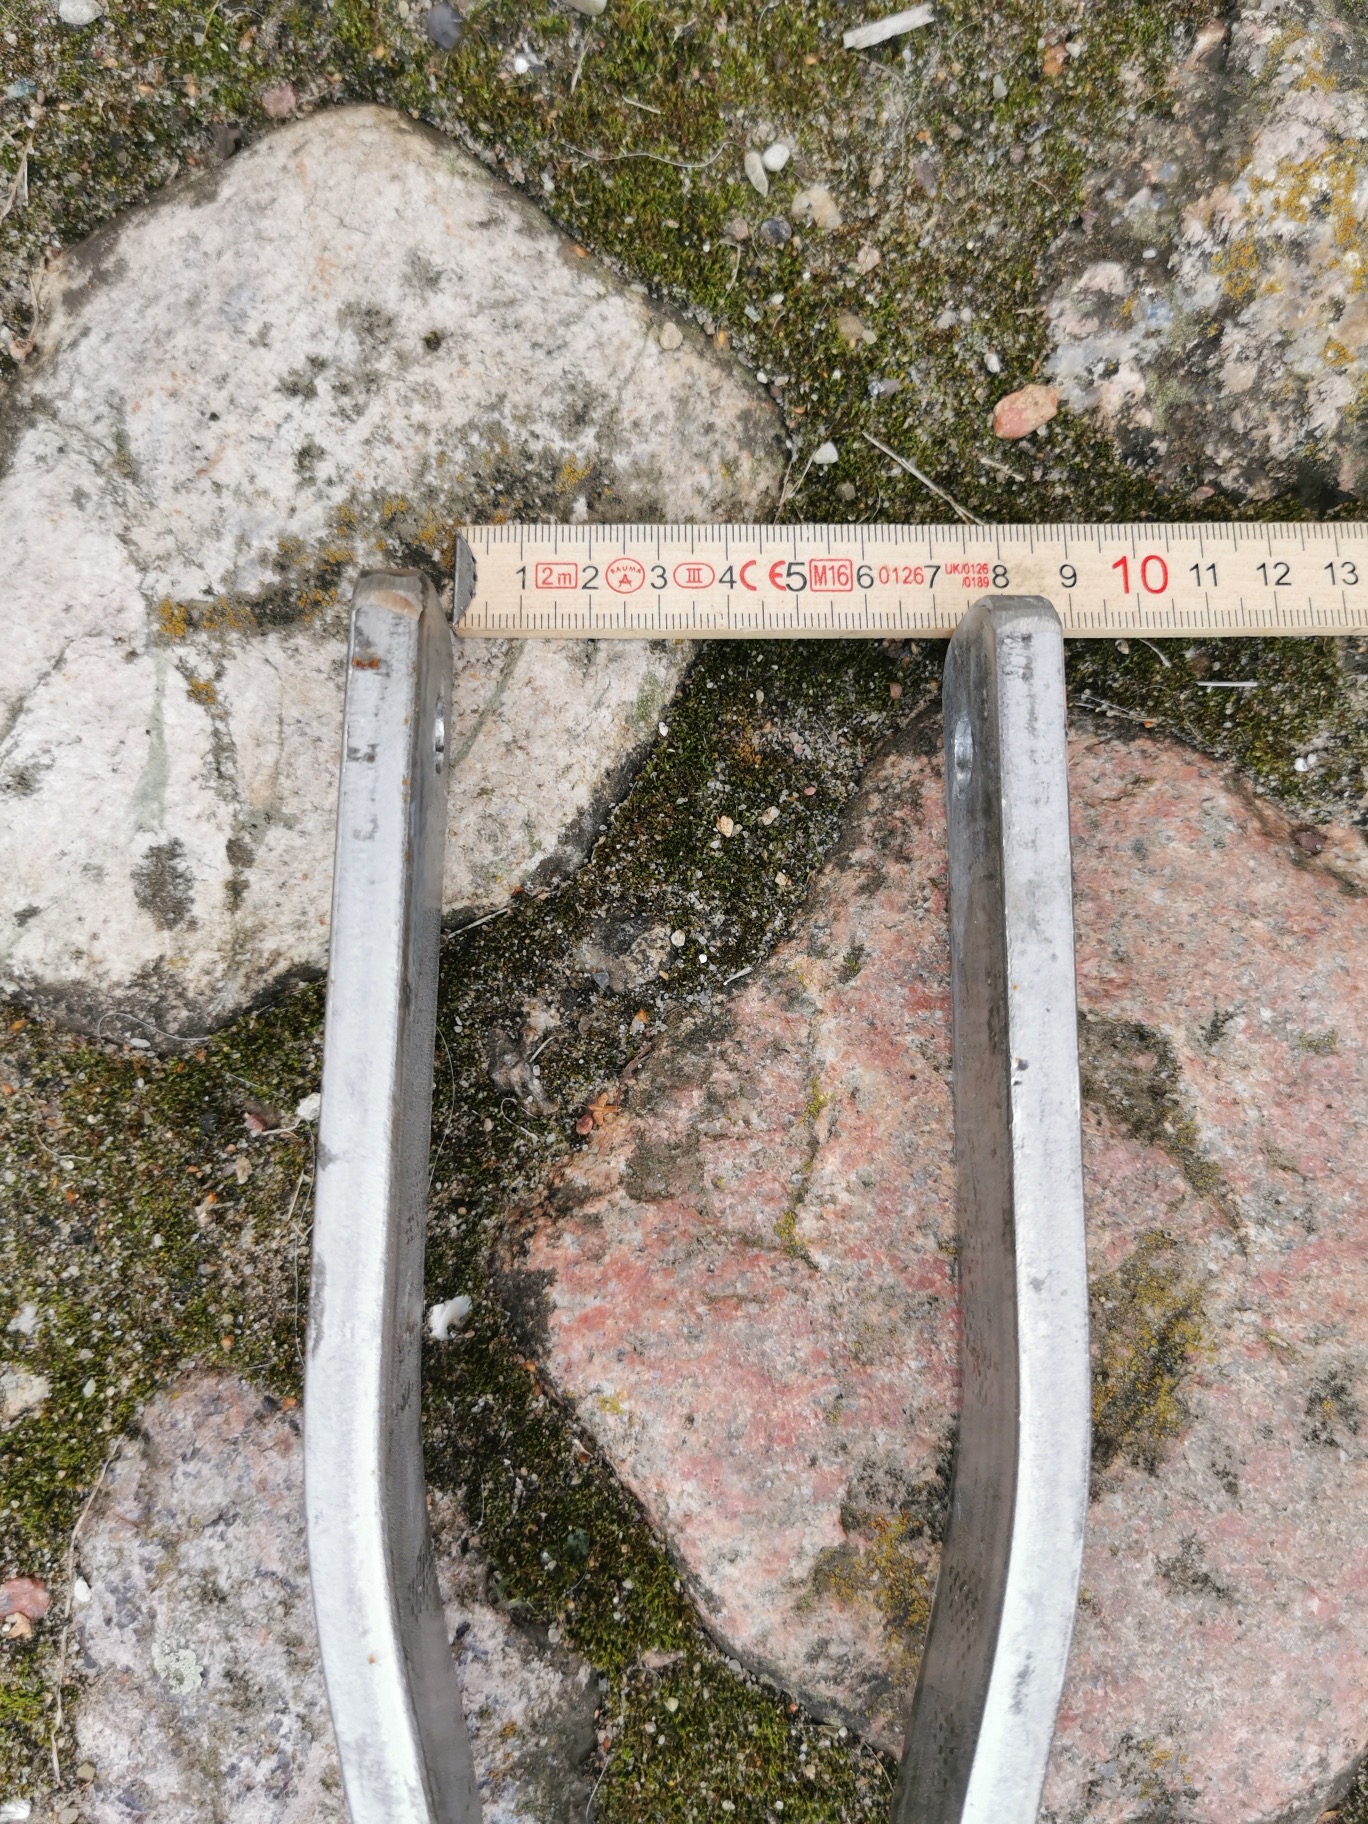
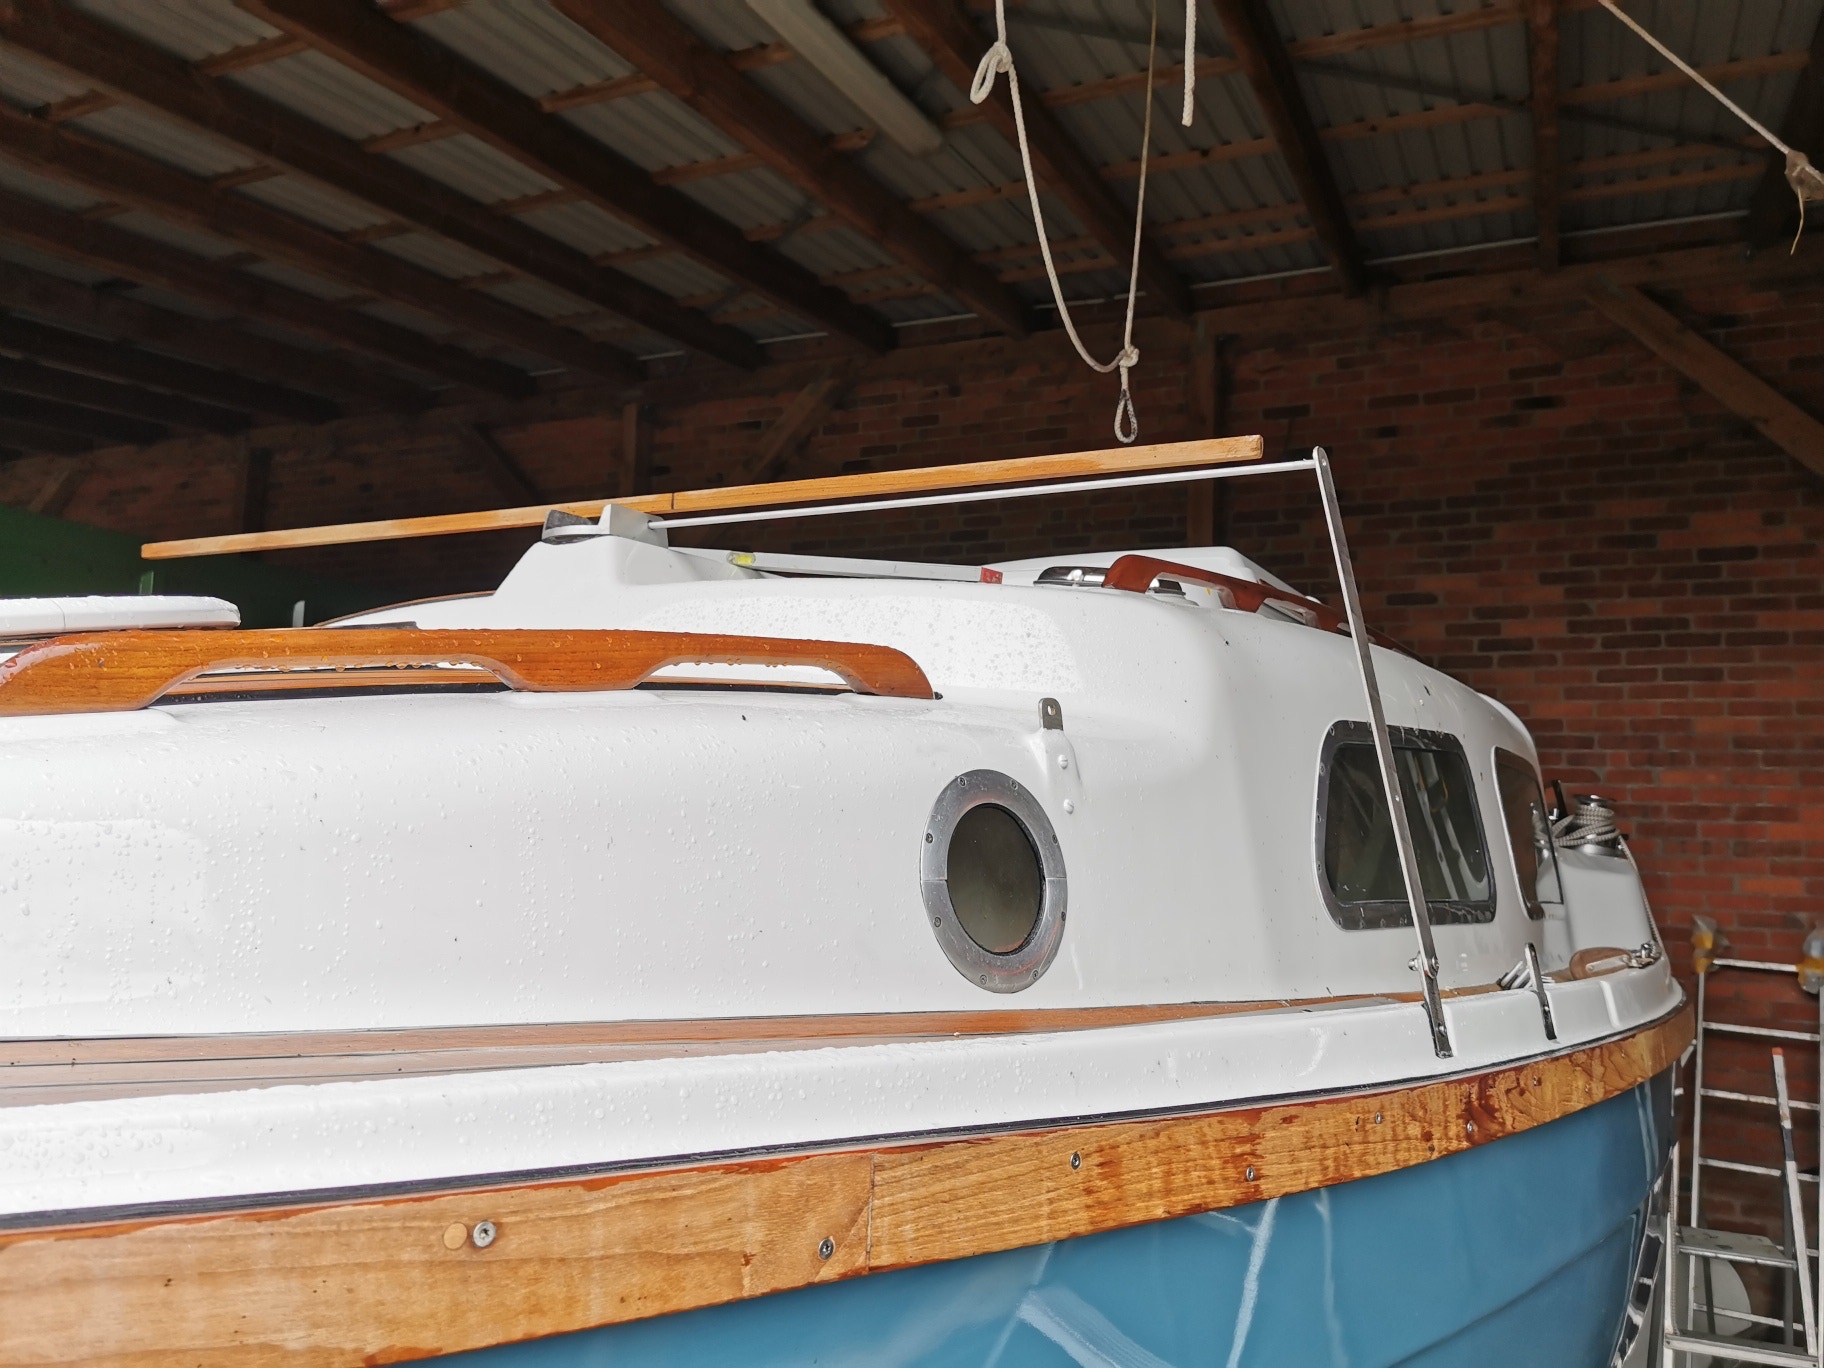
The lowering fork is made entirely of V2A stainless steel, as it does not remain attached to the mast after the mast has been set. The screw in the mast has an M10 thread, the hole in the mast is 12mm.
19.9.2021
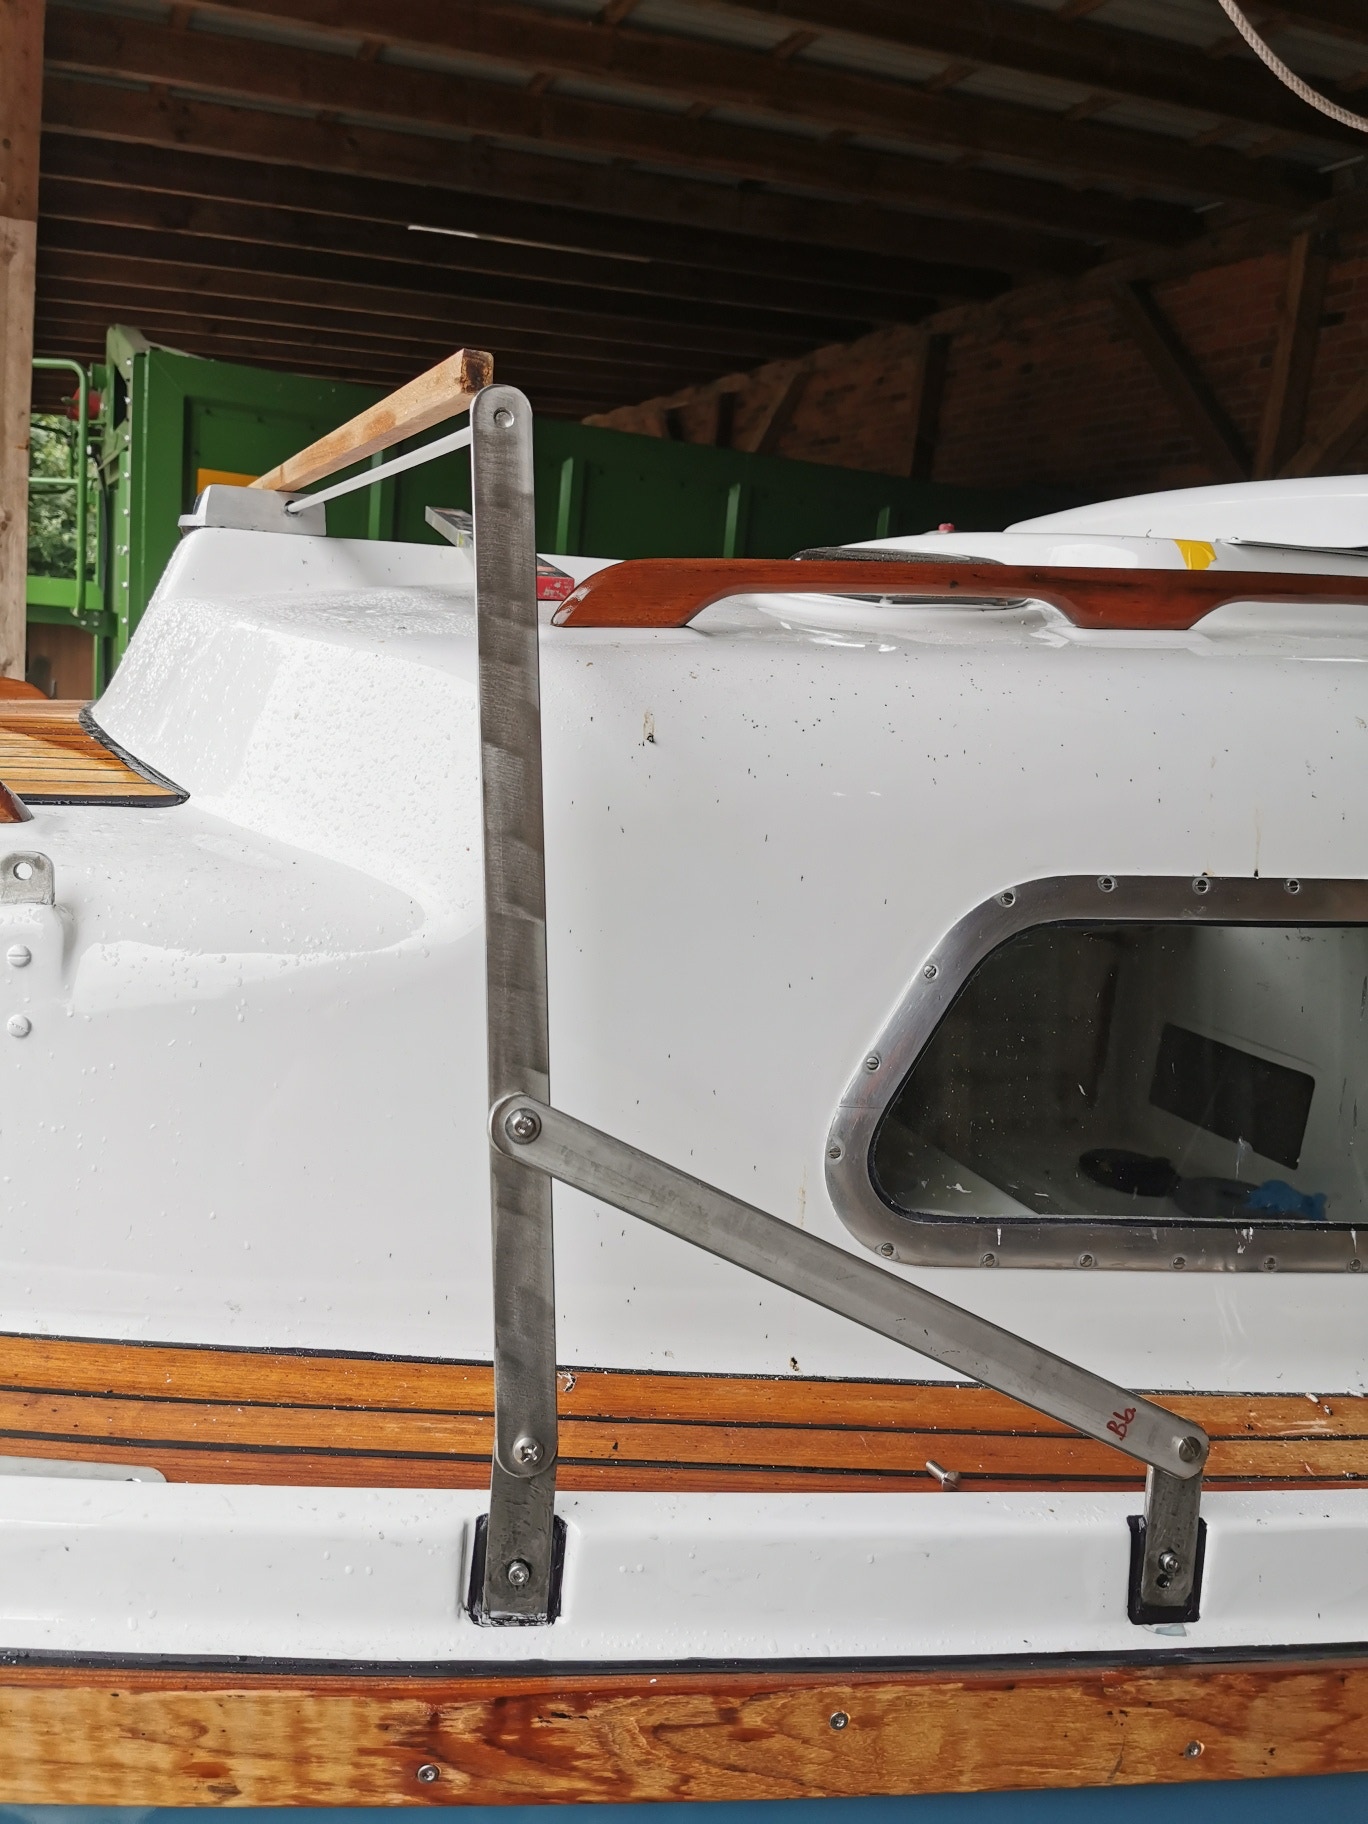
Bottom middle picture: Here you can see a construction, also made of V2A, which is attached to the puttings of the upper shroud and the rear lower shroud, so that the so-called pivot point of the auxiliary shroud is moved when the mast is placed and placed in the optimal position and the auxiliary shroud does not tear and also not sags limply.
20 .9.2021
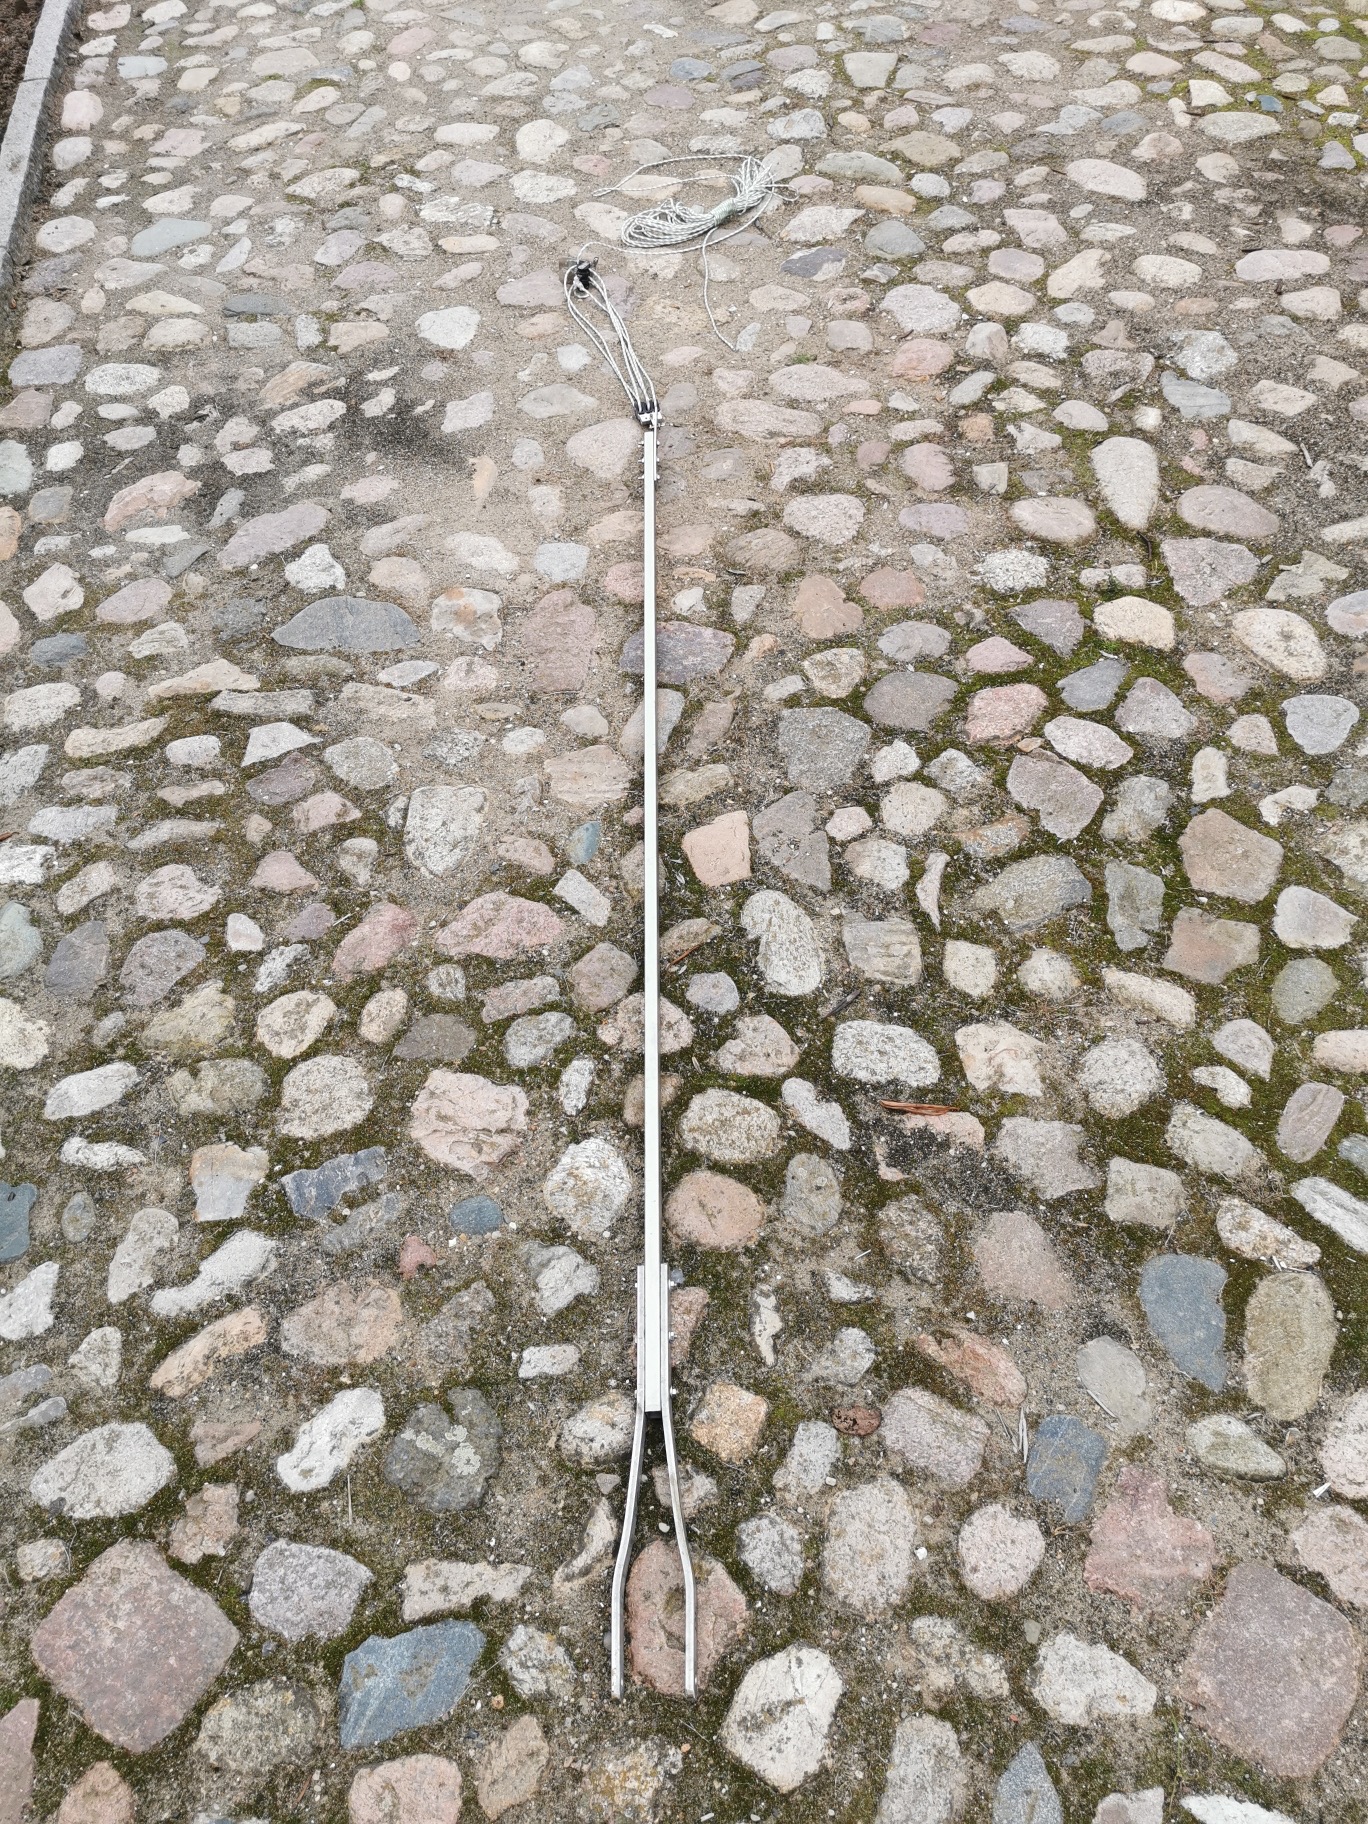
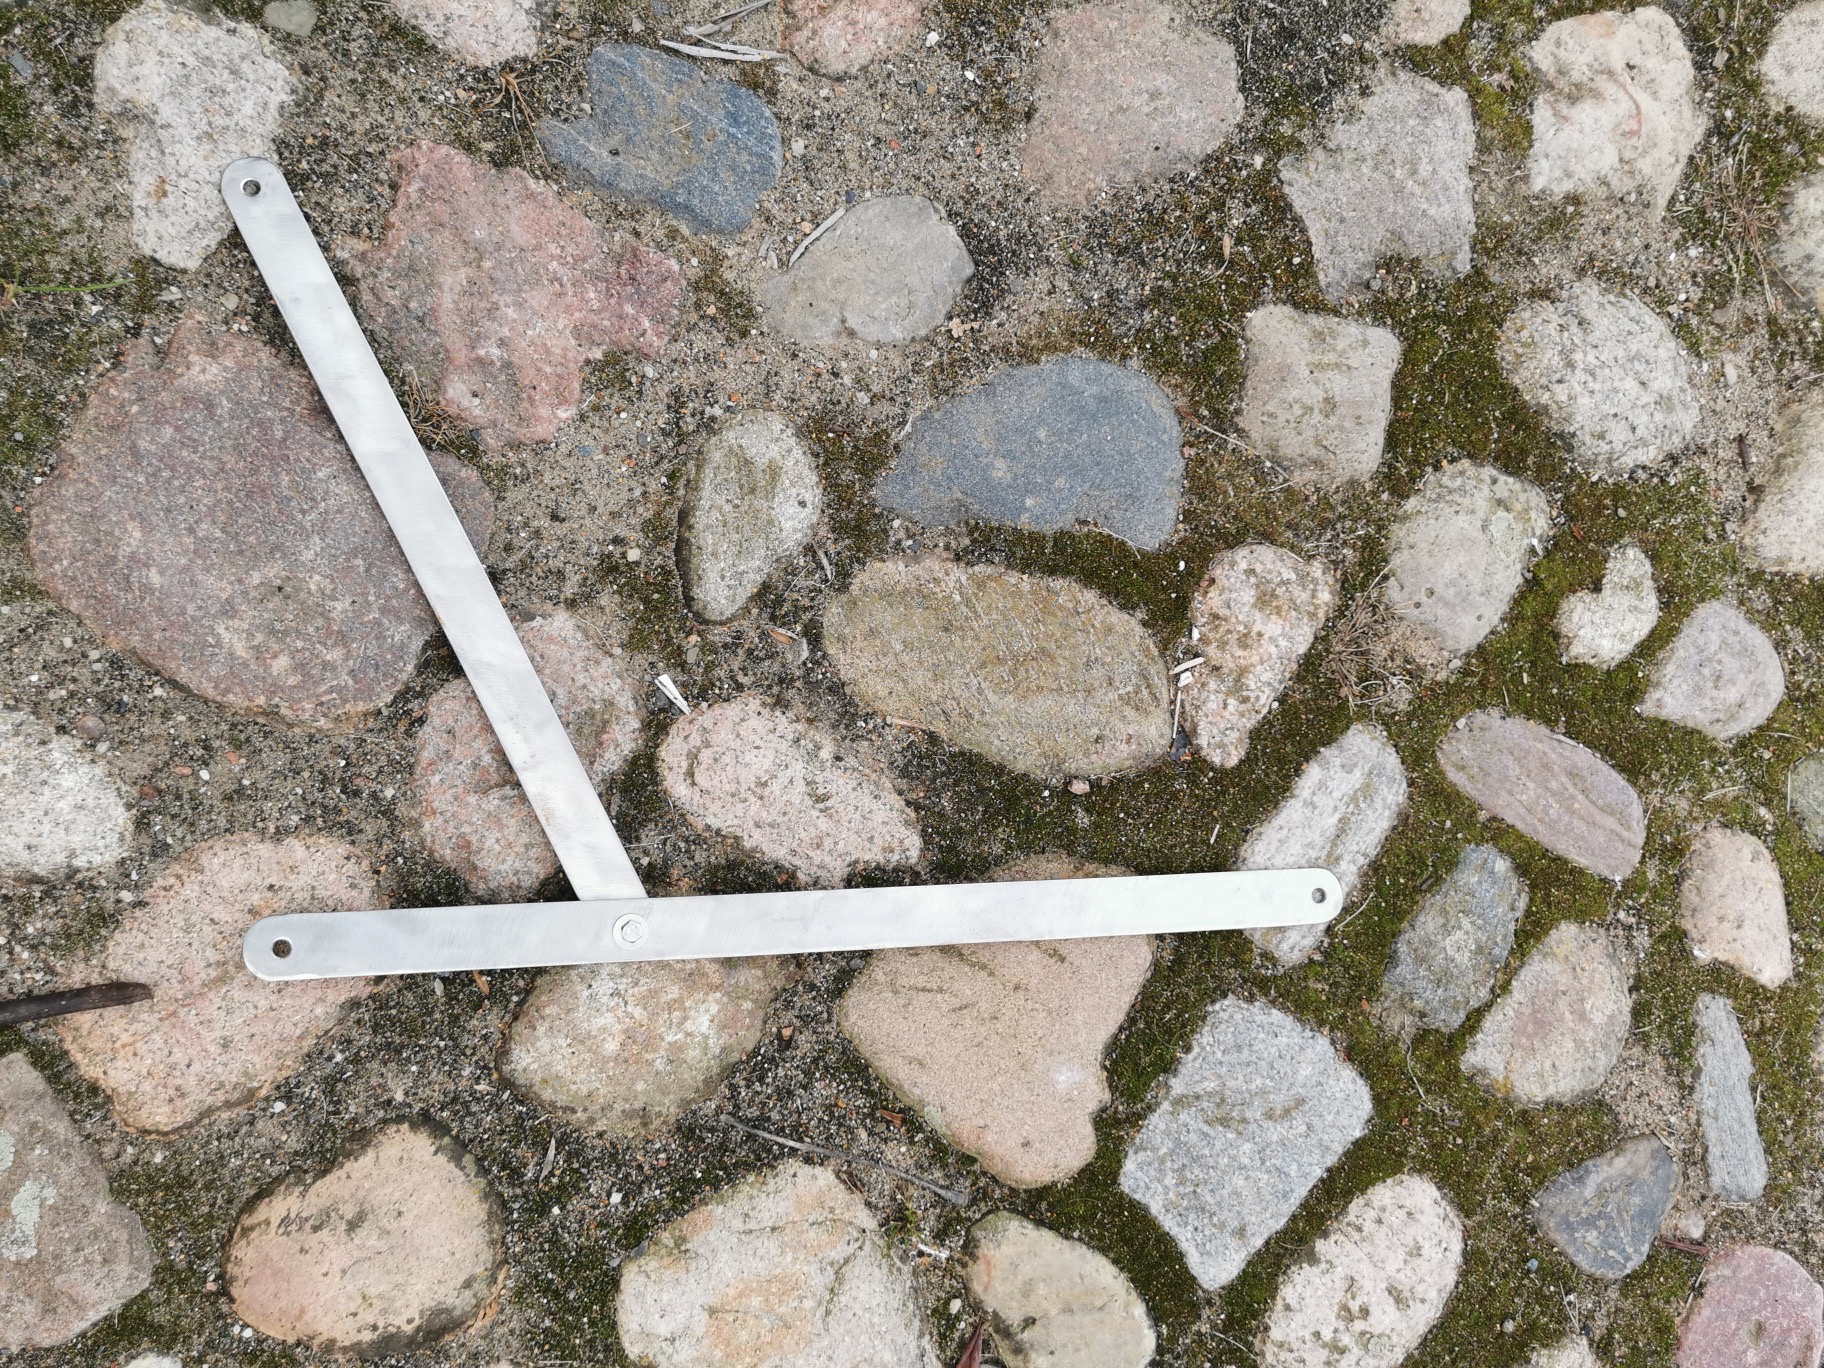
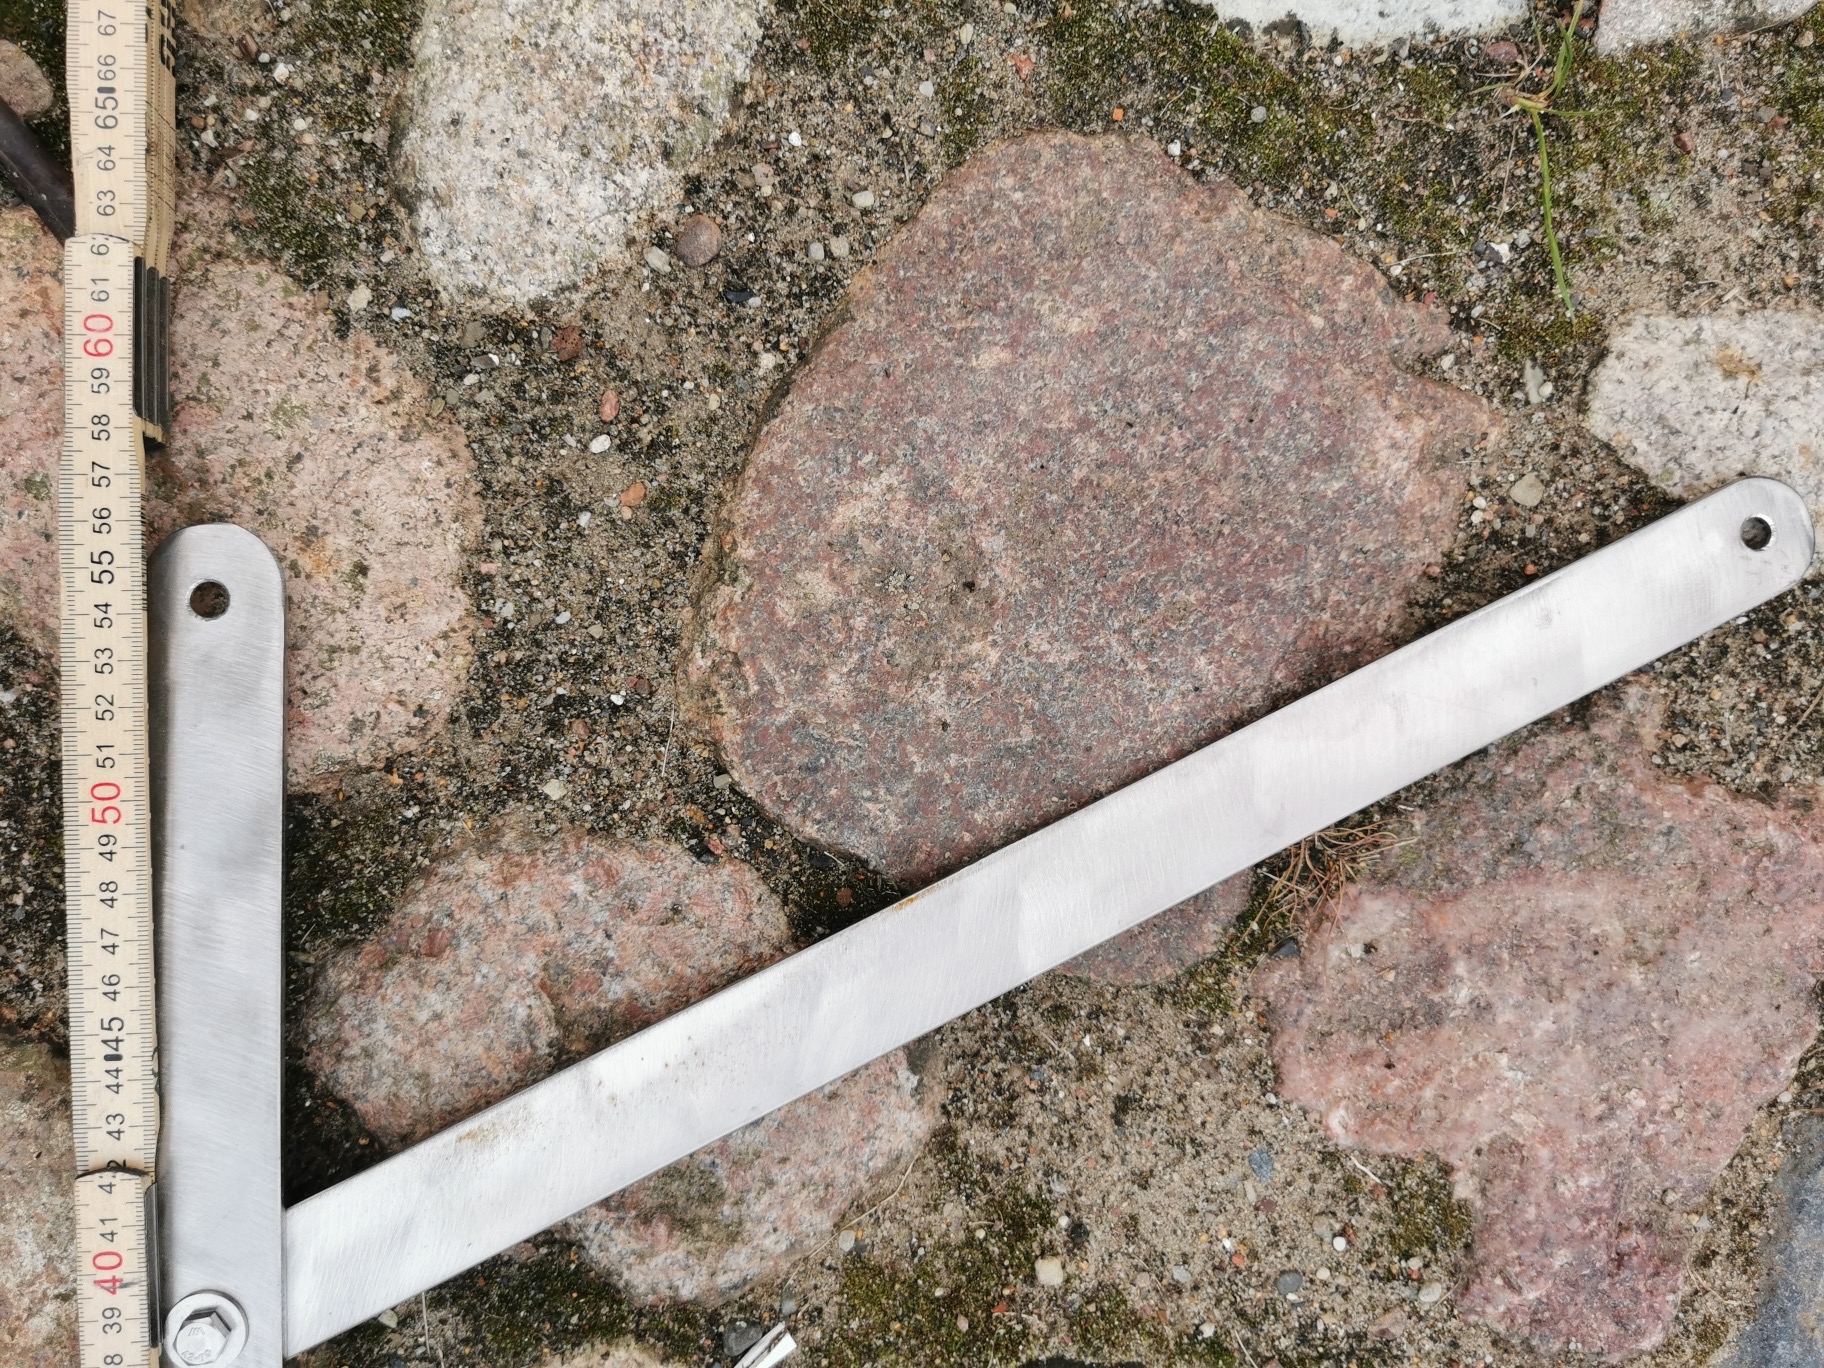
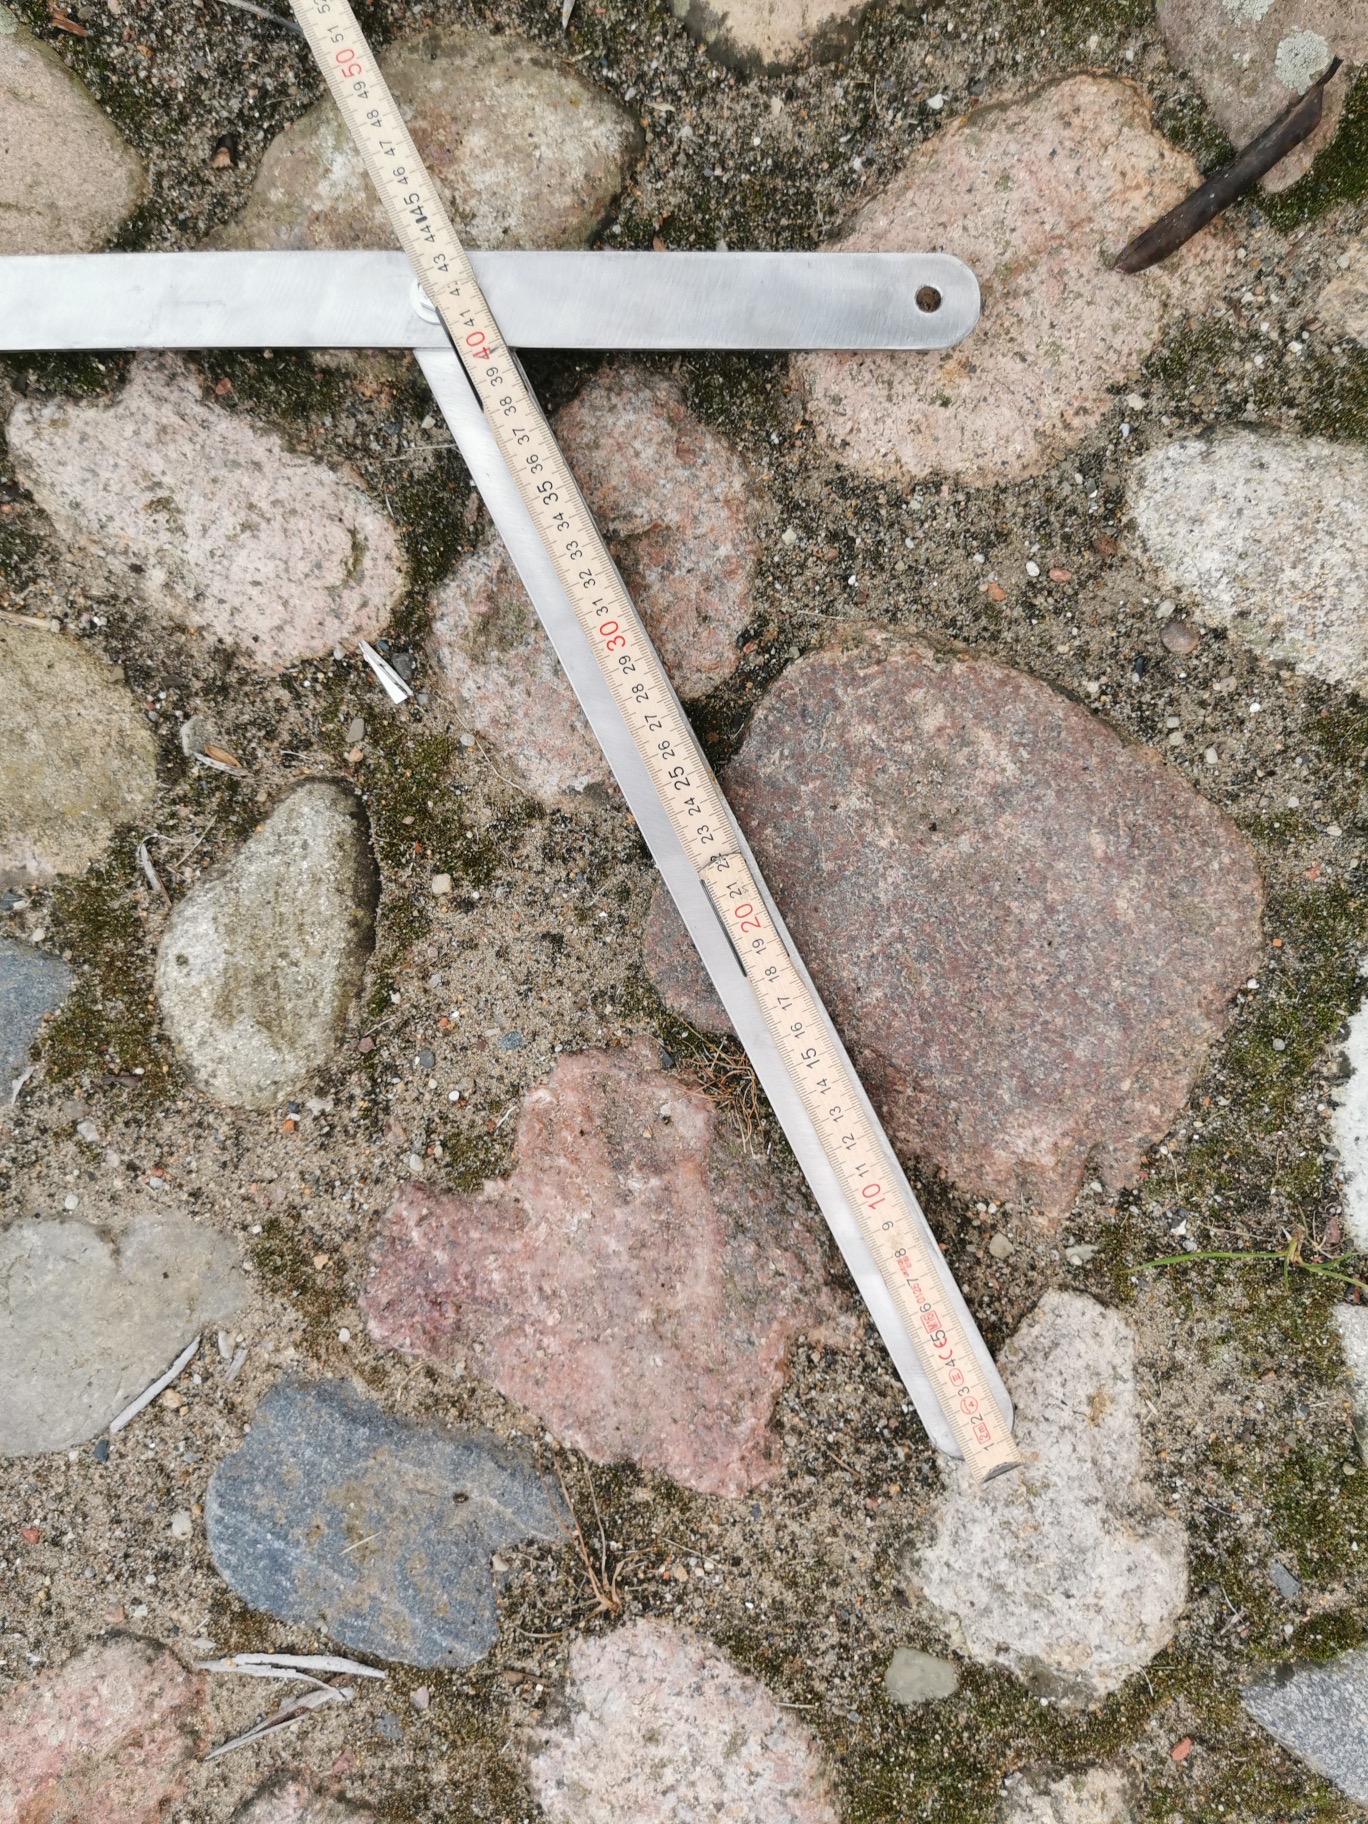
The total length of the lowering device is 243 cm for me, including fork, shaft and furling or block mount.
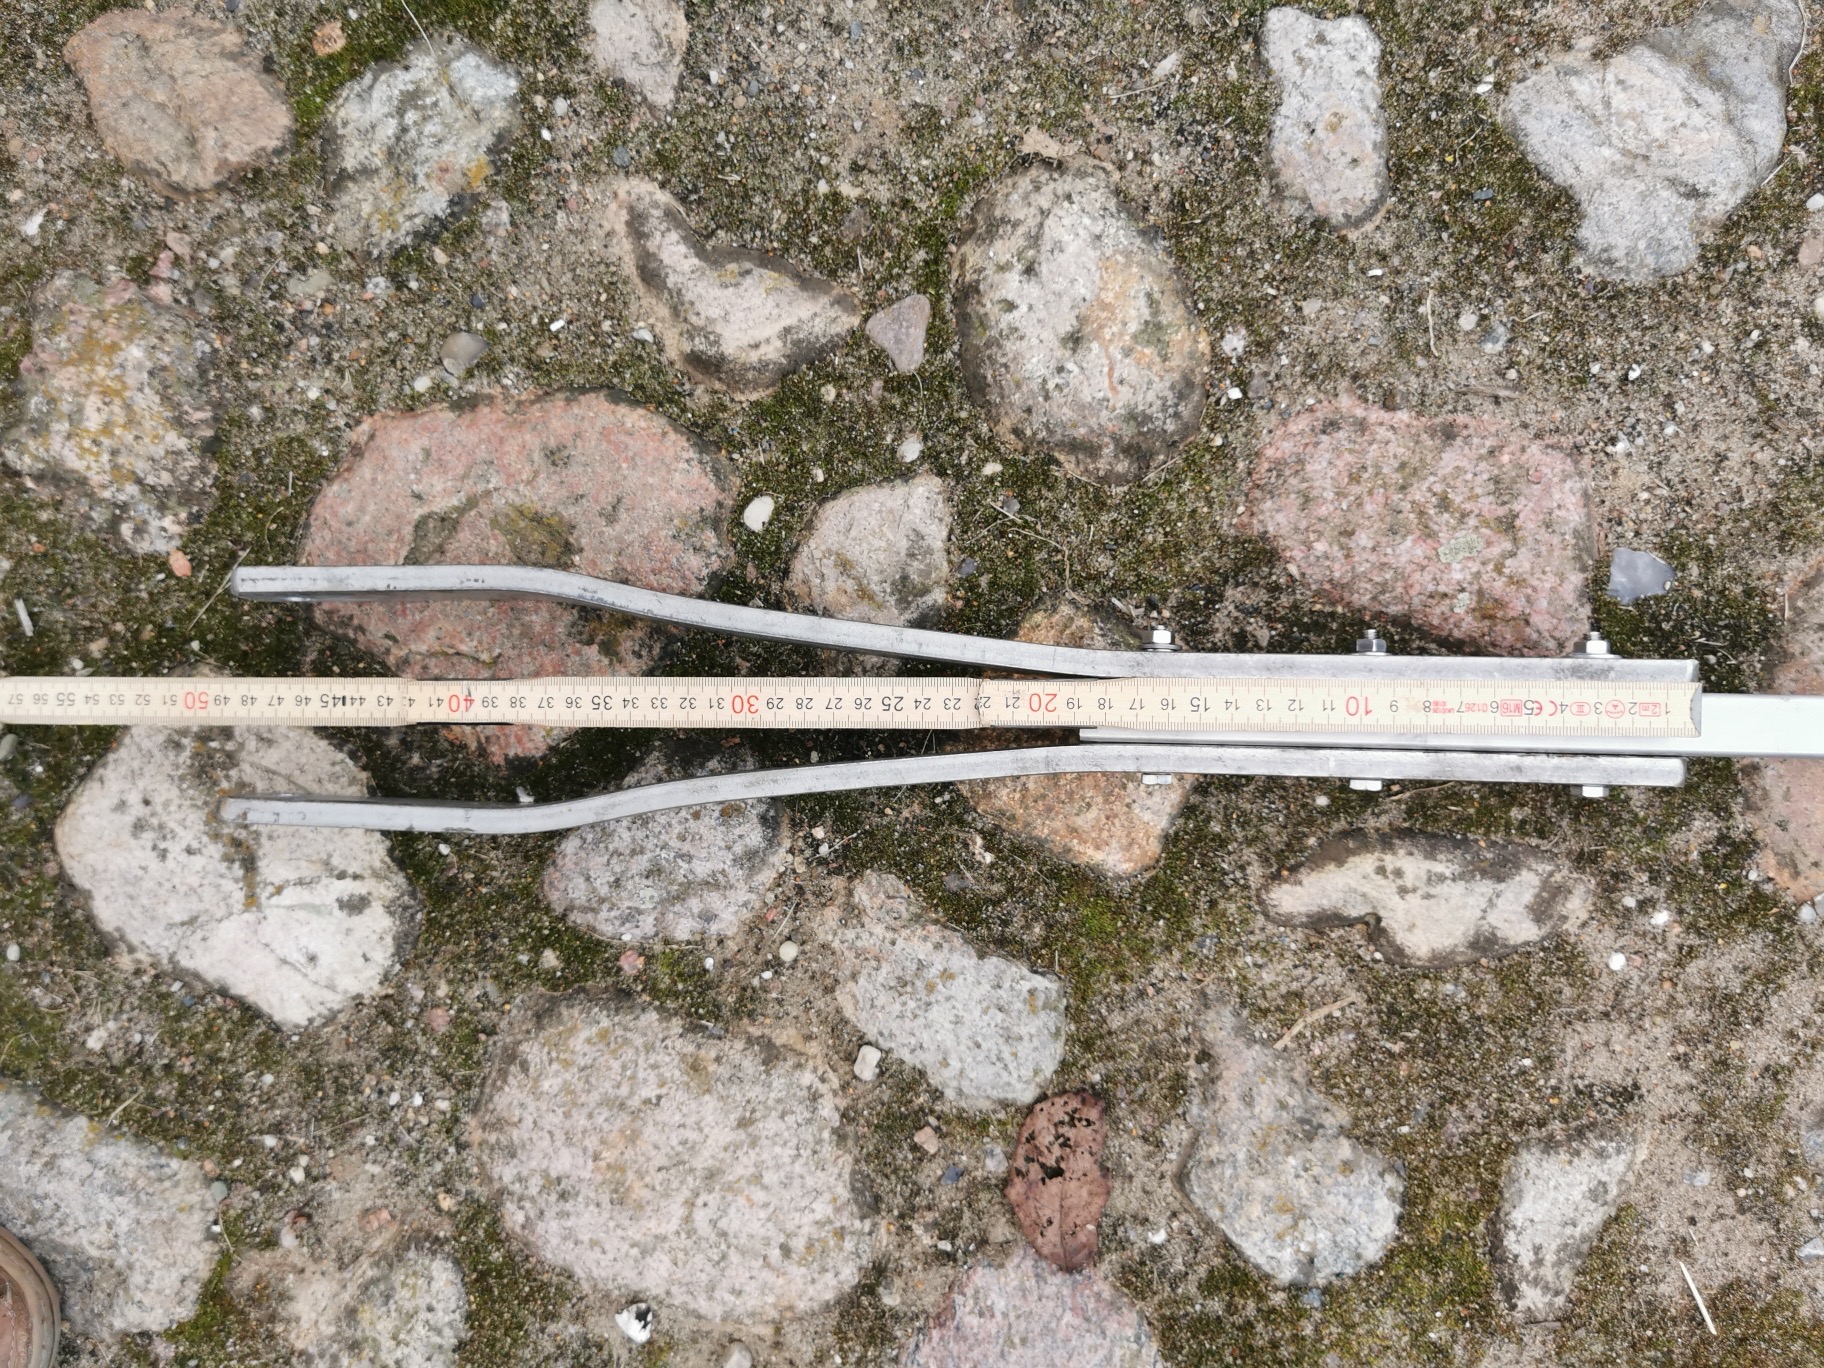
With a lot of effort I pressed the fork parta of the lowering fork in a vice as it can be seen in the middle picture. You need a little patience for that. I drilled the holes with a HSS drill from 5mm, increasing to 12mm. Three M6 screws each connect the fork parts to the shaft.
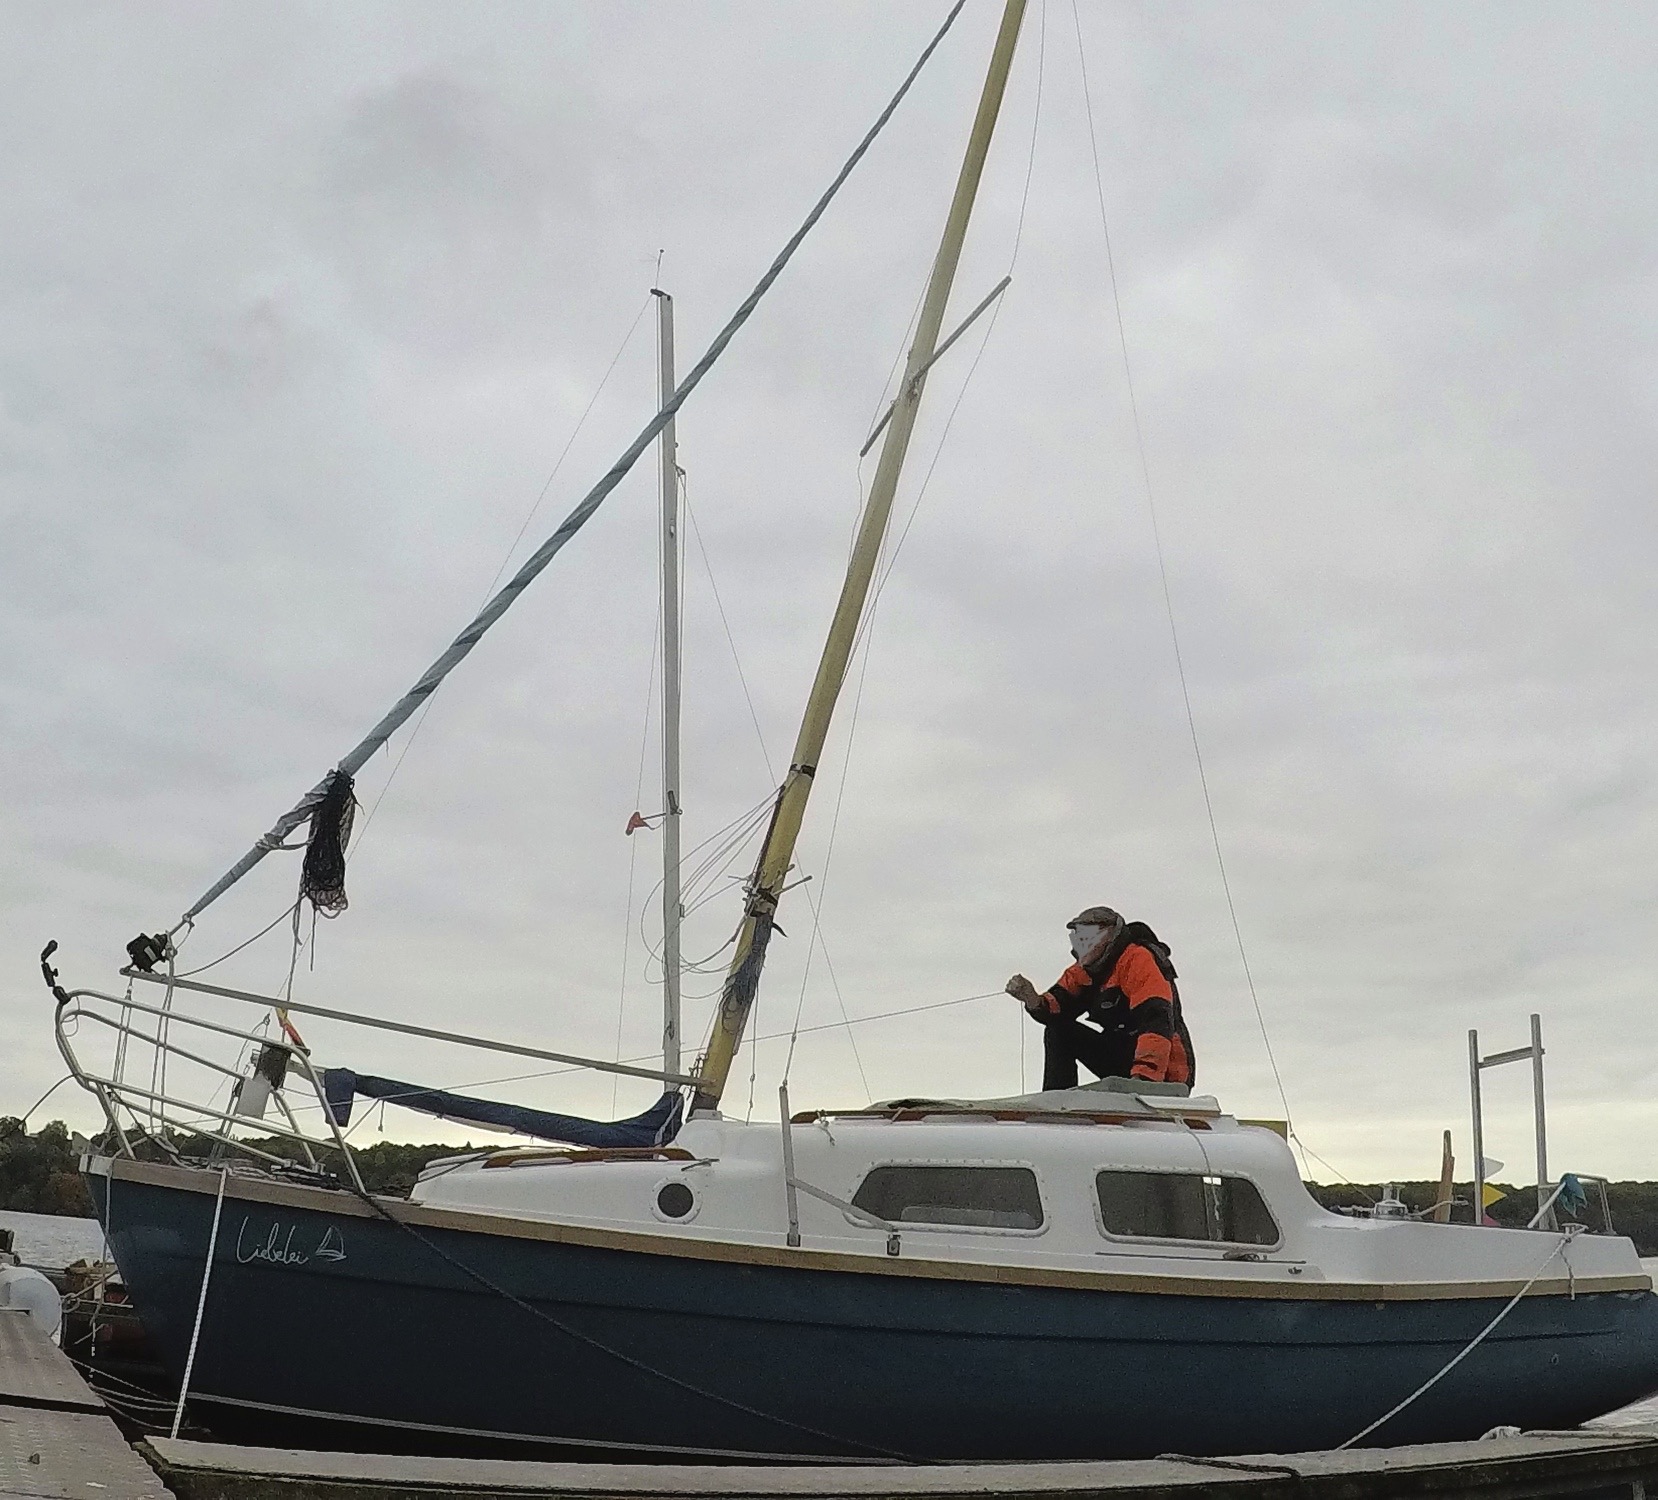
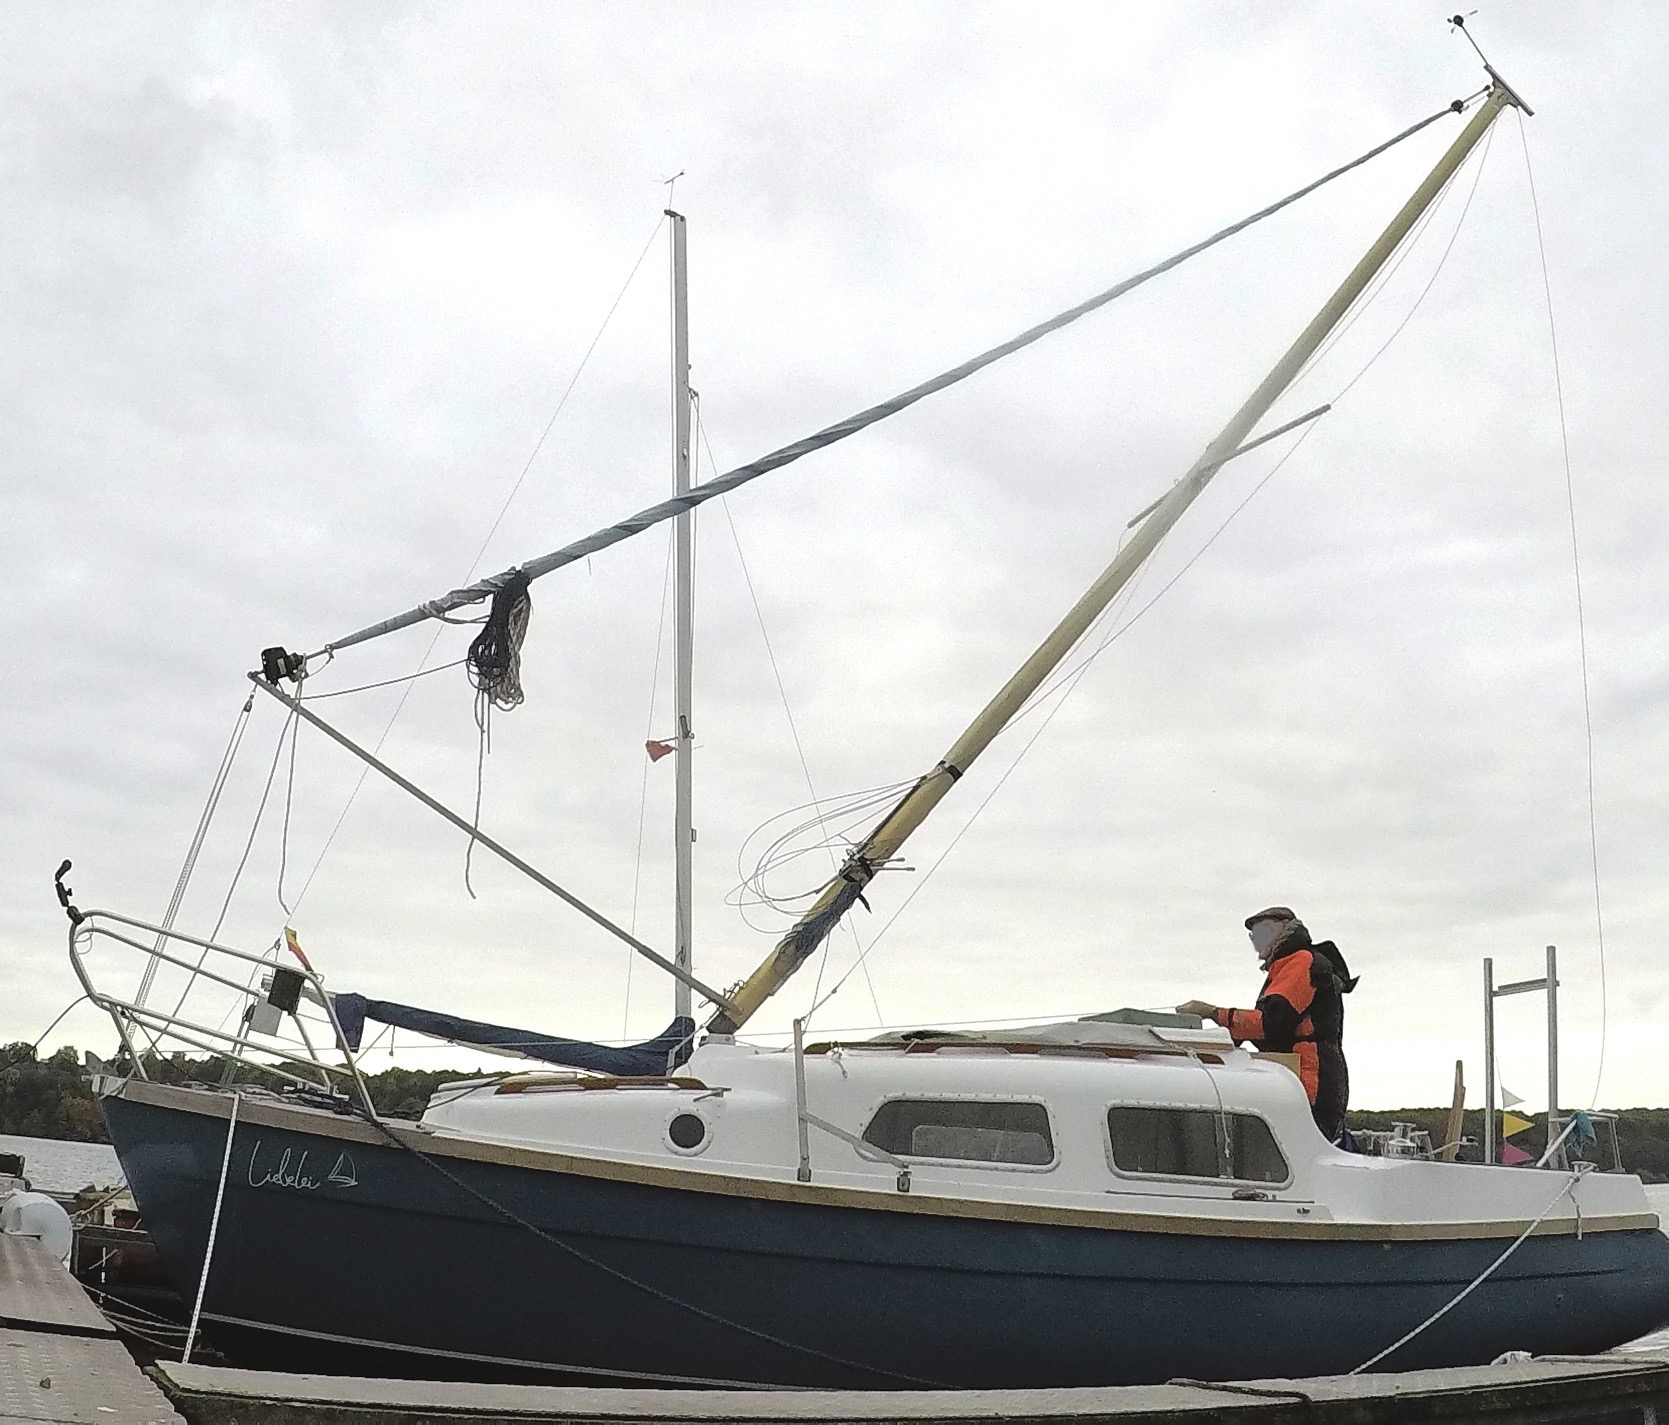
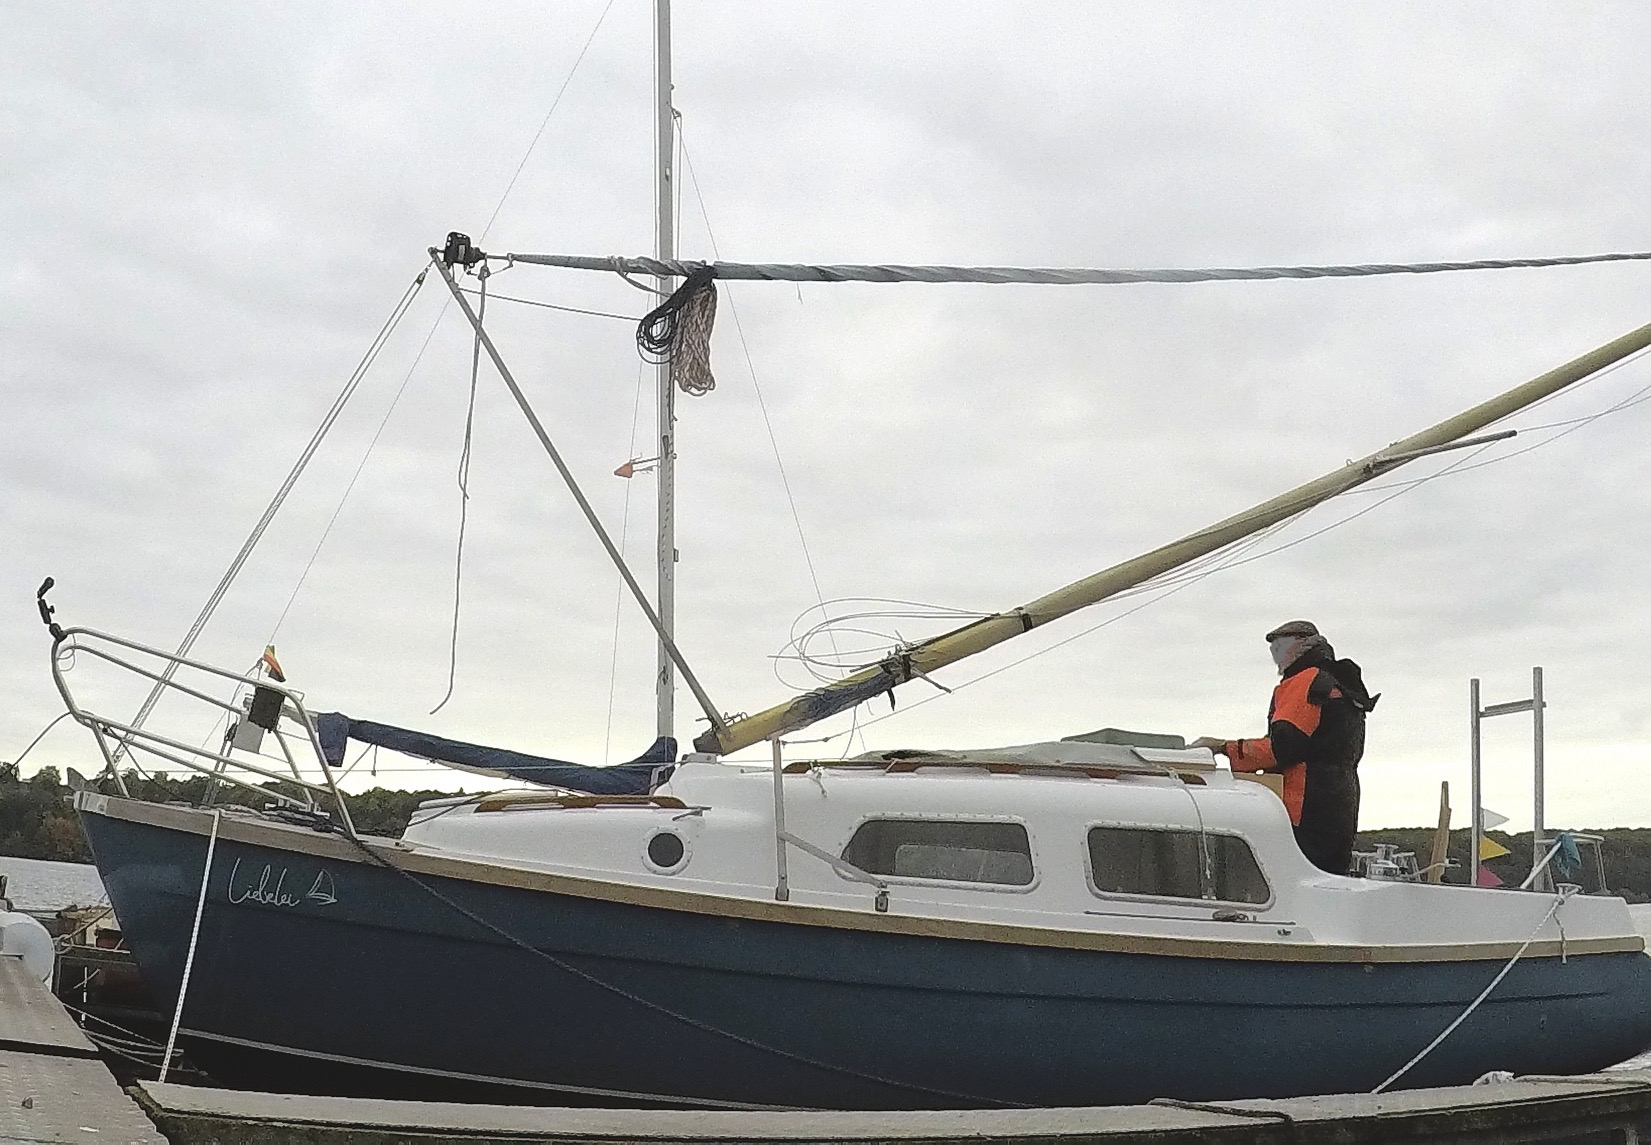
Attached in the pivotpoint, the auxiliary shrouds ideally do not tighten or loosen while the mast is being raised or lowered!
The pivotpoint (see pictures below this text) is, so to speak, the point on the mast where the mast bolt is pushed in at the base of the mast and the tipping point on the mast when it is put up or down is the fulcrum of the mast ;-)
Since the side shrouds can loosen significantly or become extremely tensioned when the mast is set or laid, which could lead to damage to the rig, it is best to attach auxiliary shrouds that end at the pivot point of the mast, as they then neither stretch and nor sag when the mast is raised or lowered. The remaining auxiliary shrouds can be loosened after the front lower shrouds have been attached.
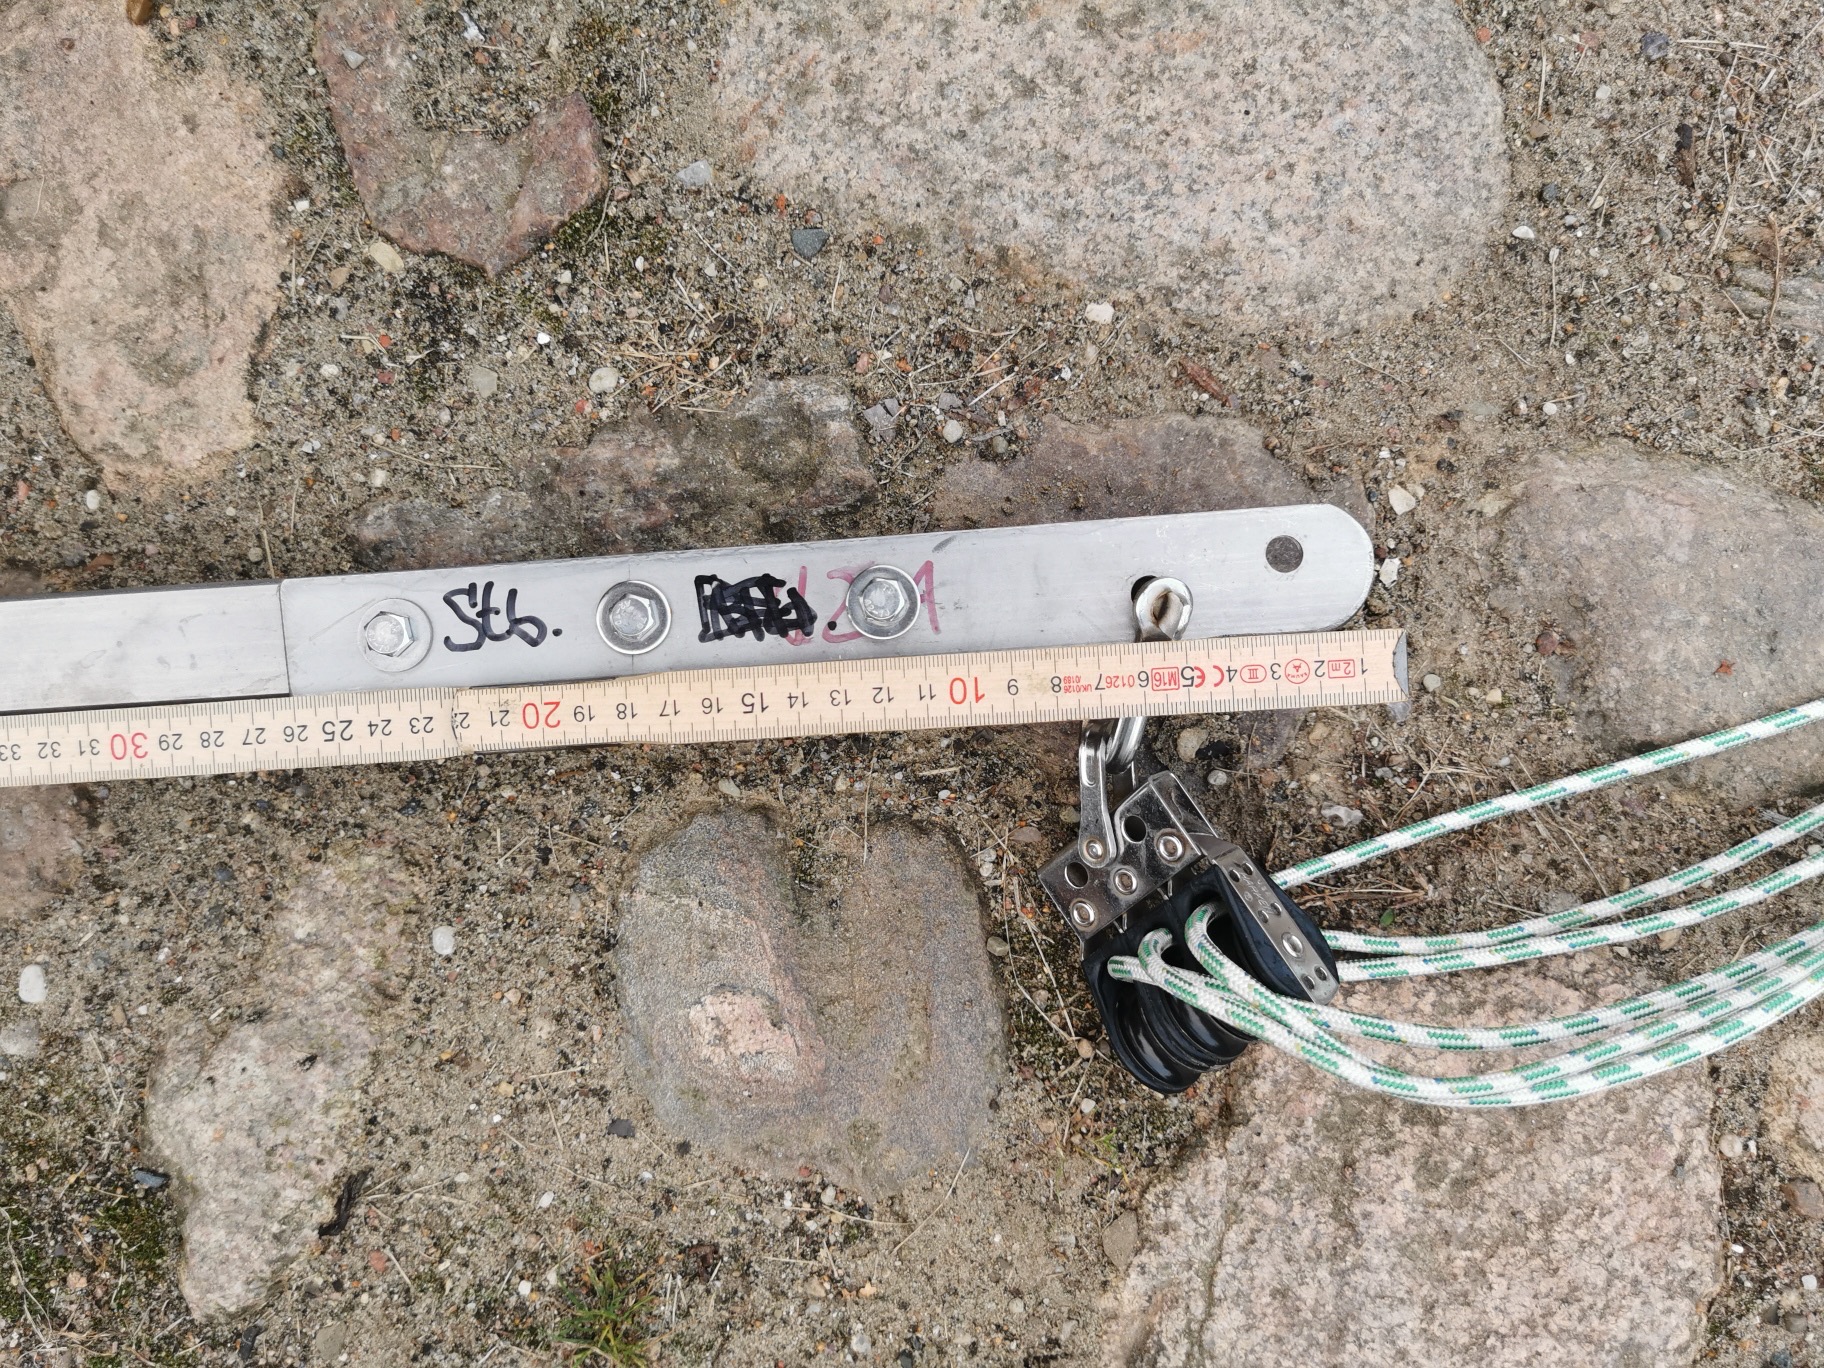
The construction I built is screwed to my boat with two M8 screws each to the port and starboard chain plaits of the upper and rear lower shrouds. At the pivot point I have attached a small shroud turnbuckles for the auxiliary shroud trimming.
< Pivotpoint
< Pivotpoint
The top hole in my auxiliary construction is almost exactly at the height of the pivot point of the mast, which you can see on the pictures. An extremely straight metal rod that I pushed through the bolt holes in the mast base mount was very helpful in determining the pivot point.

17.10 .2021
The sailing season is over, the test drives over, time to lower the mast and test the lowering device again.
Apart from the preparatory work such as dismantling the tree, dismantling the side shrouds, assembling the auxiliary construction and attaching the auxiliary shrouds, the actual assembly of the lowering fork is completed in a few minutes.
Attaching the lowering block and loosening the Furlex system (forestay) is also done quickly, although this is easier and safer to do with two people.
The lowering device runs incredibly safely and smoothly, fully fulfills its purpose.