LEISURE 22
reFIT
reFIT
reFIT
LEISURE 22
Abgehalftertes Segelschiff goes to Lieblingsdaycruiser
Abgehalftertes Segelschiff goes to Lieblingsdaycruiser
Abgehalftertes Segelschiff goes to Lieblingsdaycruiser
Abgehalftertes Segelschiff goes to Lieblingsdaycruiser
LEISURE 22
Arbeiten an
stern extension
LEISURE 22
The Materials for the stern extension
- HDF plate (hardboard) , one-side white laminated
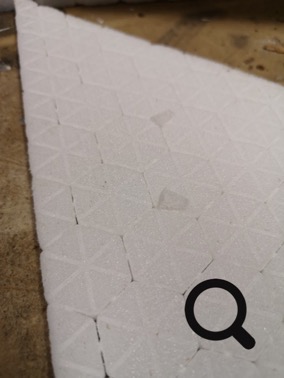
- 3D CORE Hexagon Plate 1015 x 405 x 10 mm
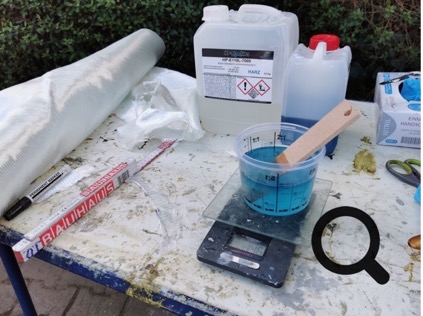
- Epoxy Harz + Härter | HP-E111L
- 450 g/m² Fiberglas roving Bidiagonal | HP-B450E
- 350 g/m² Fiberglas roving Bidiagonal | HP-B350E
- Mold release agent based on wax | HP-BM 17
- PVB- Release lacquer
- 2C Epoxy-filler | Airo-Nautic
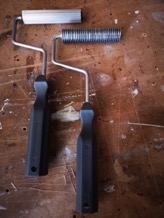
Inspiration …
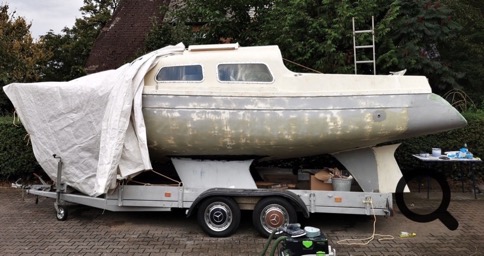
Although I had the idea to give my L22 an extended stern very early on, at first I had no idea whether and how I could implement it for my boat. I found inspiration and a great guide for the rear extension on the website of Guido Wiesel: www.mare-zadar.com ... on which documents the complex and technically clean refit and conversion of his MARE, a Neptune 22, Bj. 73 becomes. I will do it to Guido right away, because on the one hand I don't want to reinvent the wheel and on the other hand he has wonderfully succeeded in his new rear end.
Anyone who plans to add a stern extension to their own boat should bring some time with them, because whoever believes that such a stern extension will be completed in a long weekend will be taught a lesson in practice. Not only that you have to adhere to the drying times of the glue, there are also many many small manual steps necessary to create a very individual rear end. In the end, it has to endure rough seas, withstand the stress of entering it, and at the same time look good and at least not give the impression of handicrafts in kindergarten ;-)
Depending on how much time you can invest weekly in the stern extension and whether you want to install extras such as an outboard well, boat ladder pocket, teak cover, etc., you should bring between a month and half a year for this. I guess that depending on the effort and skill you have to spend at least 150 hours. - 250 h. Have to invest working time. By the way, a lot of time goes into planning, rescheduling, measuring, re-measuring, trying out, creative thought processes and "stare holes in the rear" ;-) ... I'll tell you !! But when the rear extension starts to take shape, you are extremely proud and satisfied with your performance.
1. Mold making and stencil making
7. - 11.4.2020
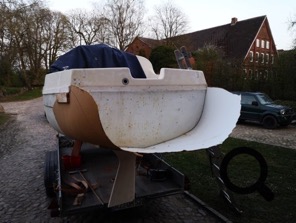
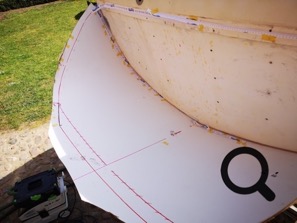
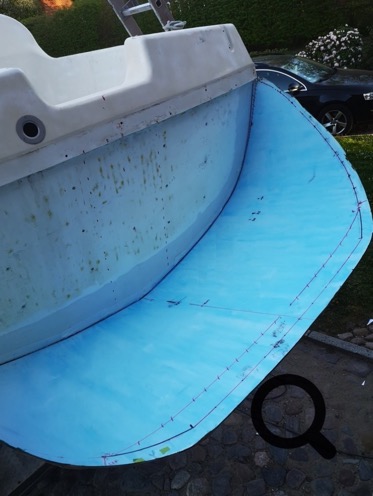
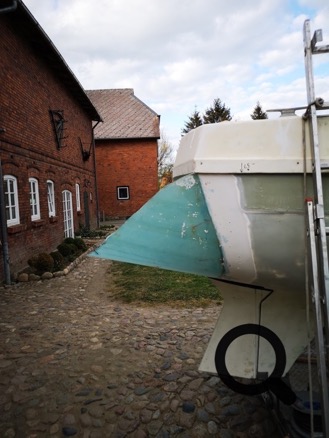
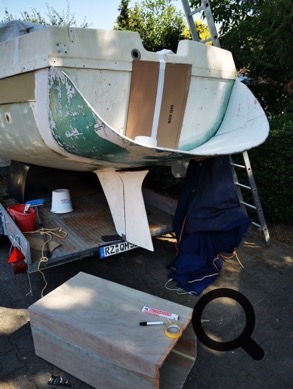
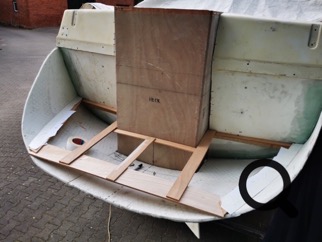
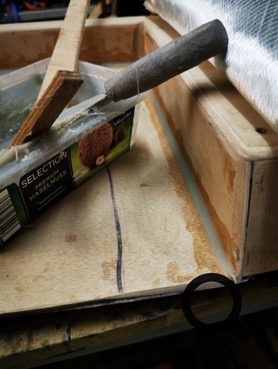
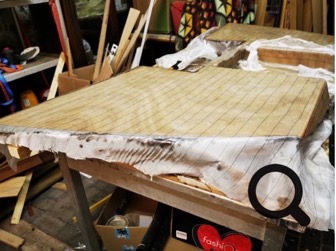
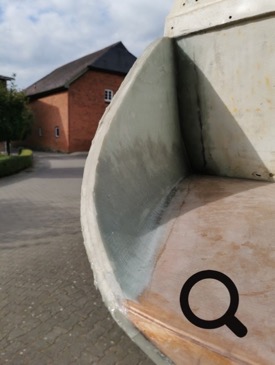
An HDF board with a one-sided coating becomes the shape for your own stern extension.
On the brown side, the plate is sufficiently to wet with water that is to disperse with a scrubbing brush for approx. 1 hour, so that it becomes flexible.
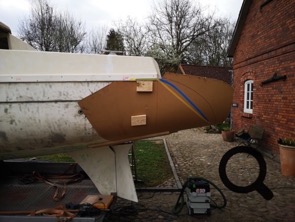
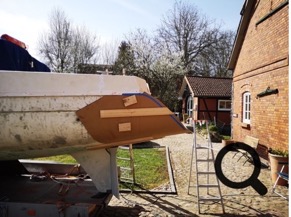
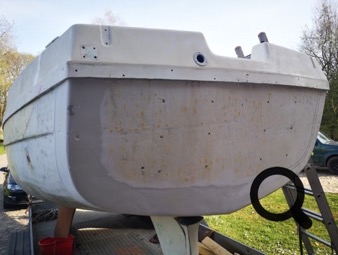
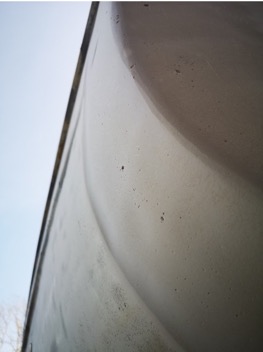
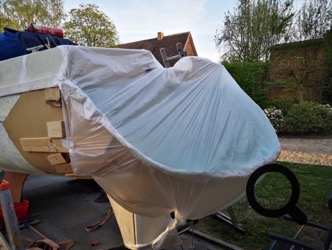
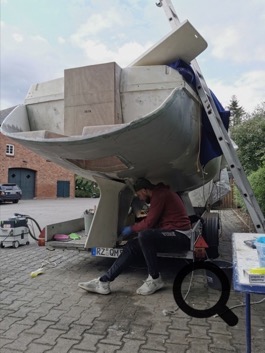
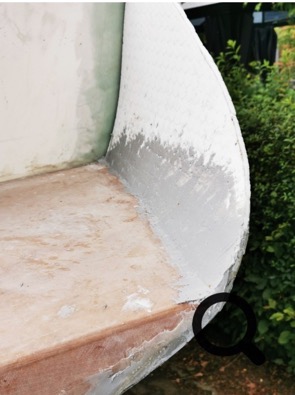
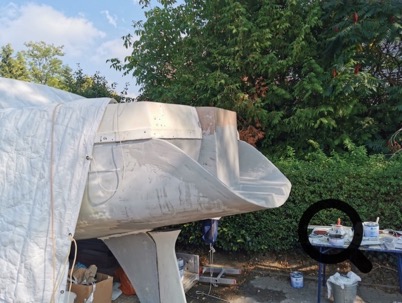
Then the plate is bent around the stern with a lashing strap. If you sanding the edges of the stern (stripes of 20 cm width) into the GRP is sanded, you do not need to remove the HDF board. When sanding, you should remove 3-4 mm.
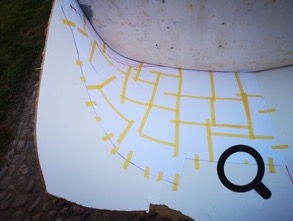
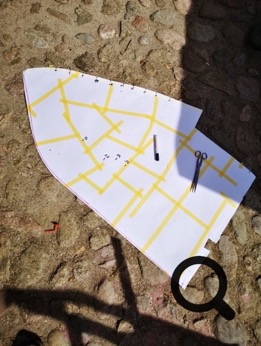
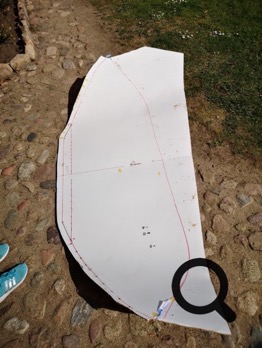
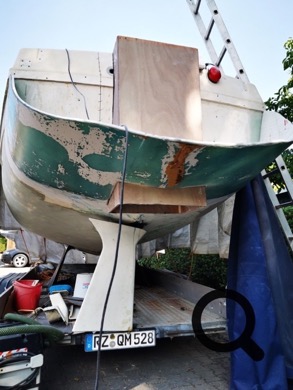
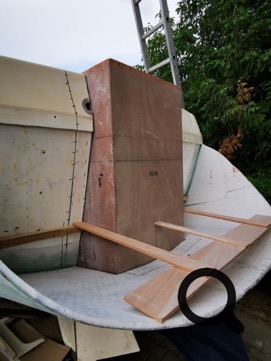
With the help of a line laser, then I drewed the cut edge on the outside of the HDF board s and drilled many small holes along the line with a small drill, so that I then included my template in the inside of the board around it from the port stern to be applied to the starboard stern. I adapted the template from many A4 cardboards. It took me two days to be satisfied with the result.
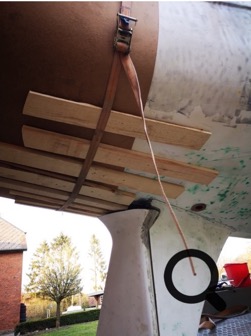
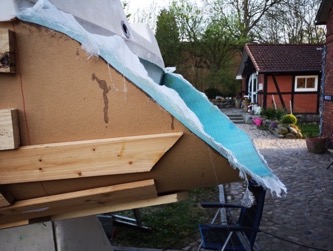
Die HDF-Platte muss mit Holzlatten unterfüttert werden, damit die Platte in Form kommt und stabil bleibt. Die Latten habe ich mit langen Schrauben direkt in den Rumpf gebohrt. Die Löcher werden später überlaminiert werden.
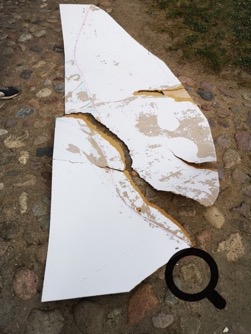
After the template was made, I was able to mark the HDF board on both sides and saw off the excess of the board. So you can see a little bit the later shape of the rear.
2. Apply release lacquer
21.4.2020
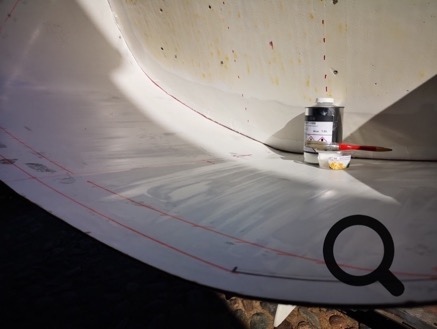
Before the mold release agent can be applied to the formwork, the area on the mirror to which the laminate will later be applied, must be taped off, i.e. on the previously sanded area!
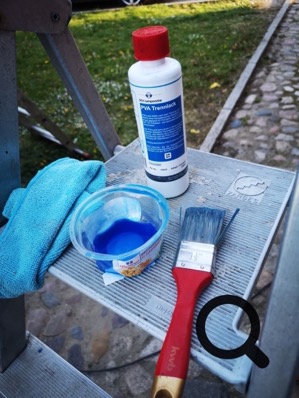
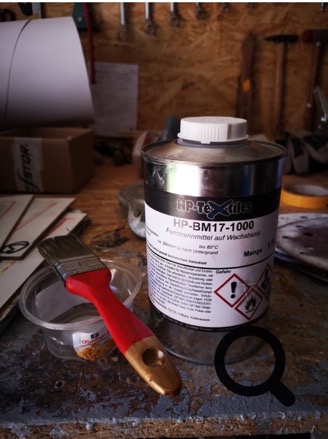
At first I applyed the wax-based mold release agent 4x with a brush. The waiting time between the coats is 30 to 40 minutes.
Then I wiped / polished the surface with a cotton cloth.
When the 4th layer has dried properly, the blue PVA release coating can be applied. I put on a shift. I let this layer dry for several hours at 16 degrees C.
3. Glasgelege vorbereiten
TIPP !
Leave a generous margin. Cutting off is always possible!
Be sure to try the first cut on the formwork.
22.4.2020
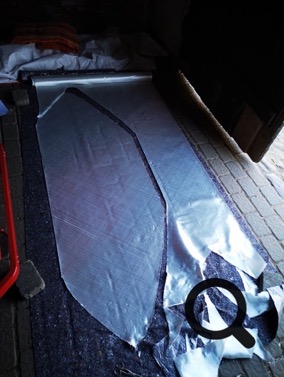
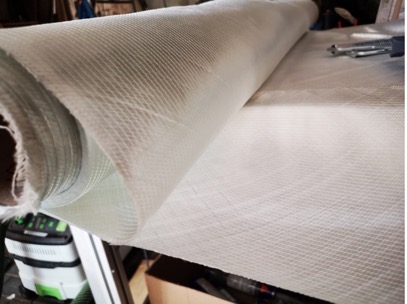
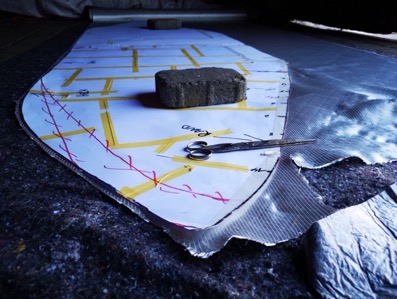
I already cut out the bi-diagonal glass fabric and used the created rear template for that. When cutting out with the sharp scissor, I leave about 8mm on the edge.
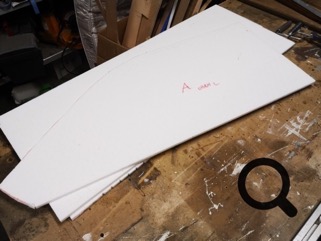
I also marked the 3D core sandwich material with the template and cut it out with the cutter knife. This is very easy with the 10mm thick material.
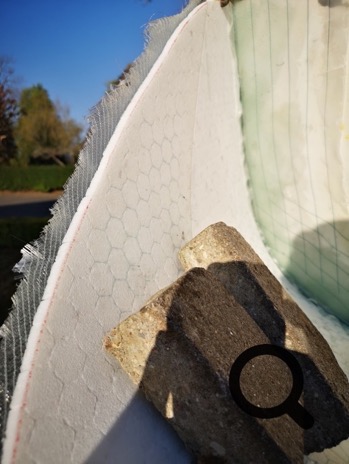
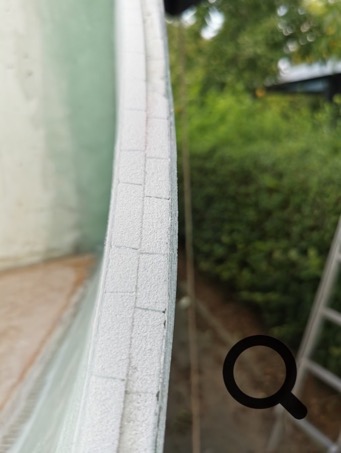
In 10mm thickness, the plates can be pressed very well into the shell without breaking. The 3D core is very hard, similar like duroplast, but due to the hexagon structure it can be bent and twisted slightly. The epoxy resin can flow between the hexagons and form additional bridges.
4. Lamination work
23.4.2020
Today I finally applied the laminate to the formwork at 20 deg C.
In the first layer my mixing ratio was wrong, which I noticed in time before I mixed the epoxy for the second layer. The glass fiber mats that had already been cut out were also too small, although I had cut them out the day before with the addition of a template. Then I had to do some tricks. The sun also bothered me, because in the sun the epoxy gels and attracts much faster. Fortunately, my epoxy had a pot life of 110 minutes. ;-)
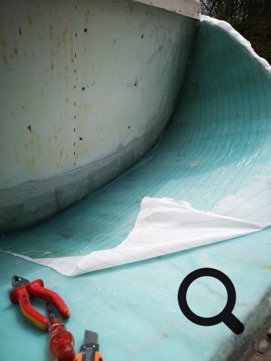
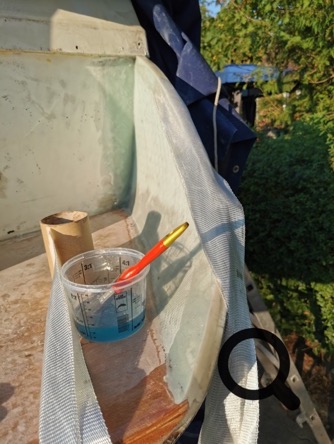
Now to the procedure… In the first two layers I used 450 full-size bidiagonal fiberglass (cut out according to a template). Then I glued approx. 20 cm wide strips from the 450 bi-fiberglass from the mirror to the rear, with a slight overlap to the neighboring strip. The fiberglass strips I laminated about 5 cm at the mirror. Then, as the 4th layer, there was a full-size 450 bi-fiberglass. Then in the 5th layer I applied the 20cm wide strips again, just like in the 3rd layer, but this time I already laminated 10 cm on the mirror. Now there comes another layer of full-size 450 bi-fiberglass ... etc. ... I had to stop in the 5th layer because my epoxy was used up. ... Then I put on a peel ply to prevent amine blushing and glued it in place. Against the nocturnal, high humidity, I covered the rear with a tarpaulin in the evening. … I will continue to laminate for the coming days.
4. Strip the formwork
25.4.2020
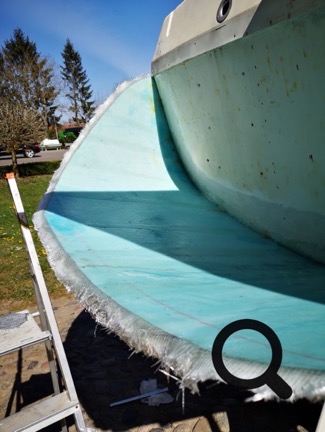
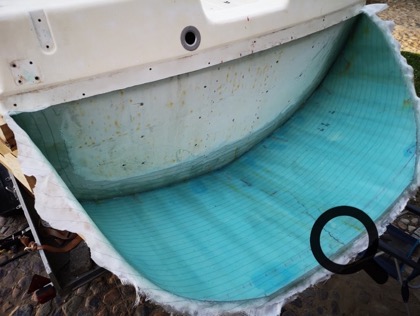
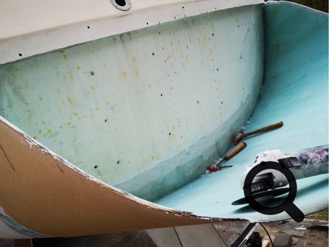
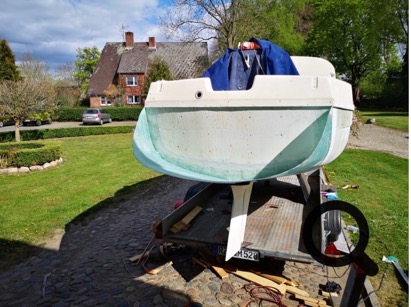
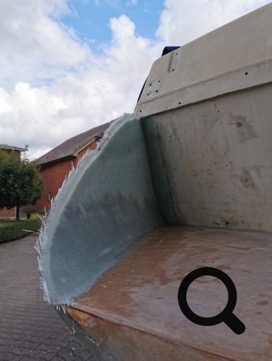
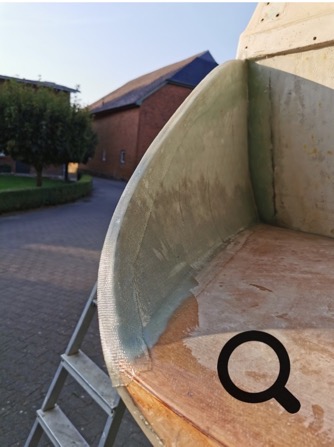
After 48 hours of drying, I take off the formwork.
Before I could take off the formwork, I first removed the peel ply, then I cut off the excess edge of the laminate with a flex.
The formwork was very easy to remove and only approx. 10% of the thin, white hard fiber surface stuck relatively loosely to the rear floor.
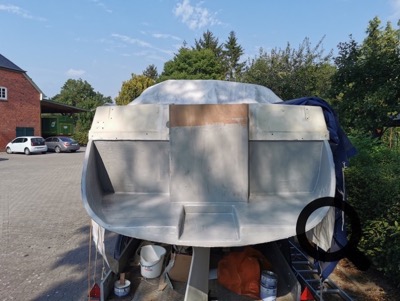
I am very satisfied with the result ...
... Tomorrow, two more layers of fiberglass and the Core 3D sandwich-material will come in.
After I glued two more layers of the fiberglass into the stern extension, I had the first layer of the Sandwich material applied at the same time.
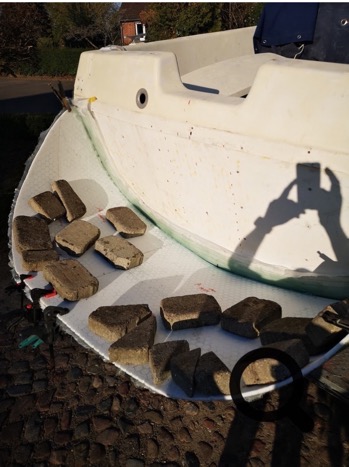
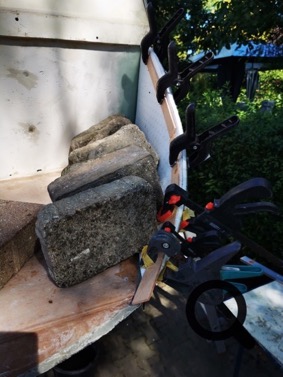
The 3D core material is ideal for sandwich work with bends. Furthermore, the liquid epoxy can flow into the gaps between the hexagons and make the already hard material even firmer. Before applying, the underside and the surface on which the 3d core is placed are soaked with epoxy resin. If you do not apply the plates using the vacuum method, you weight the plates with stones, bricks or other suitable weights.
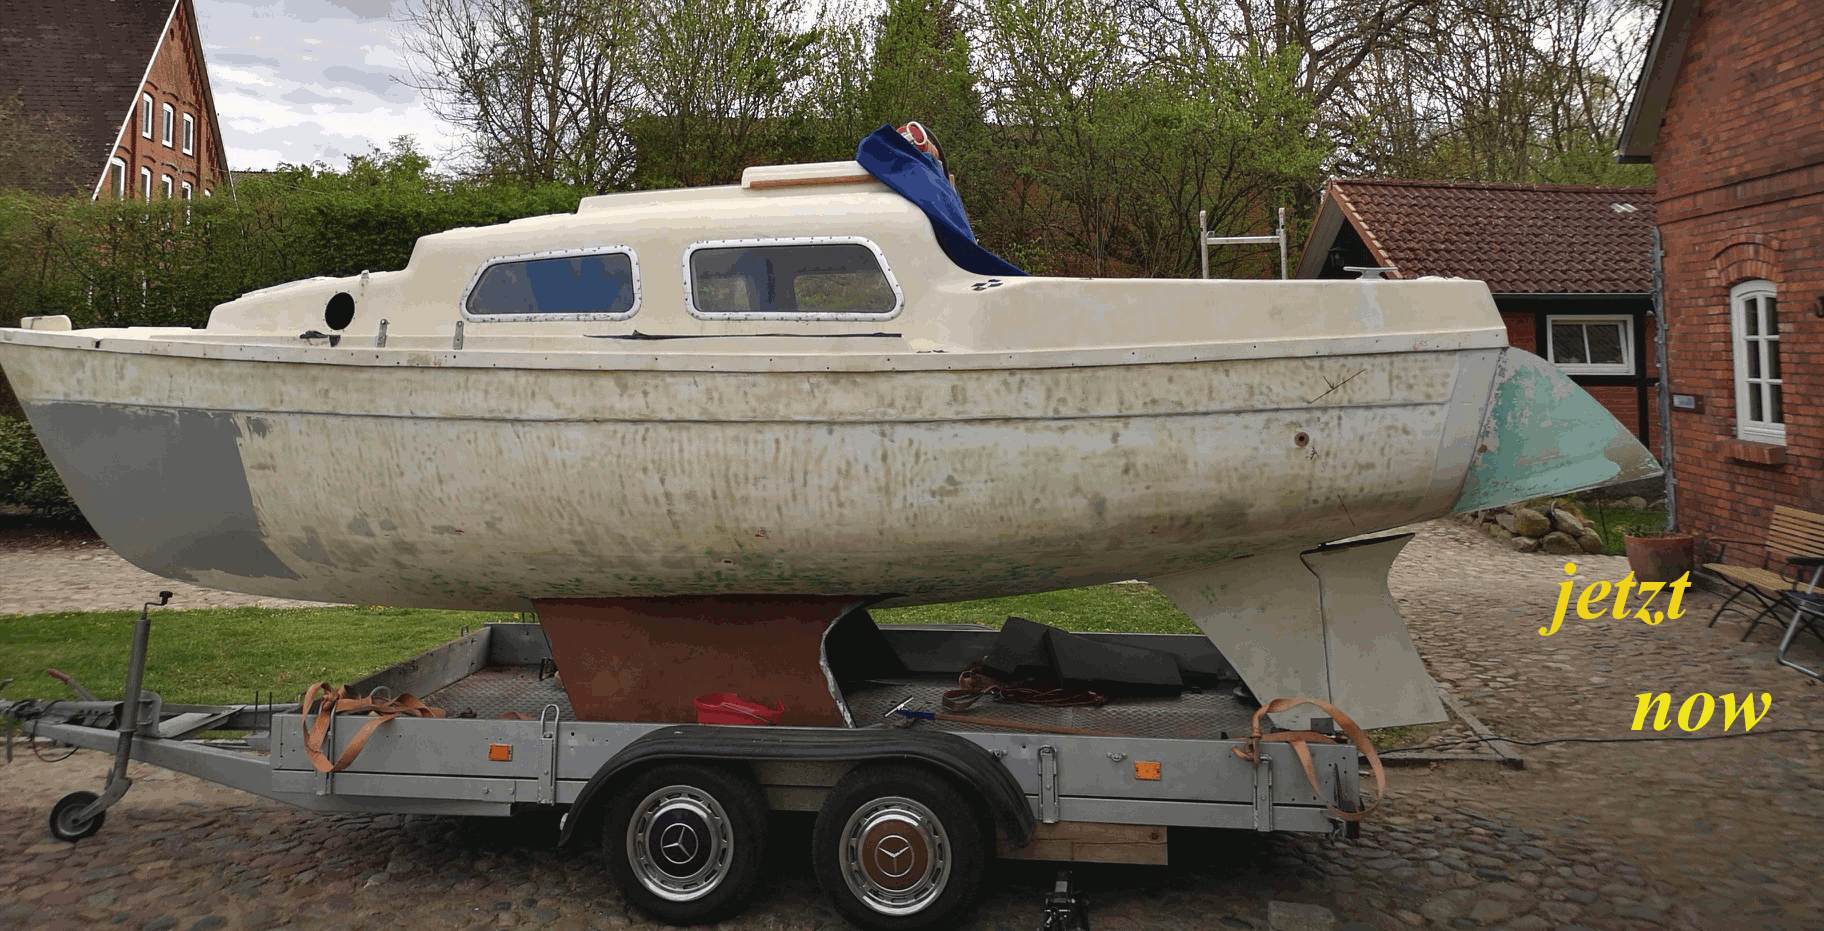
So, after I had to spend a lot of time on my livelihood (we remember that there was also a lockdown where there was nothing to do) and I had to neglect my boat, it now goes on where I did stopped ... At the stern.
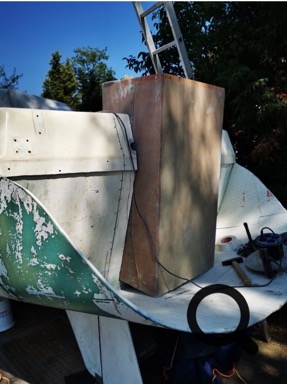
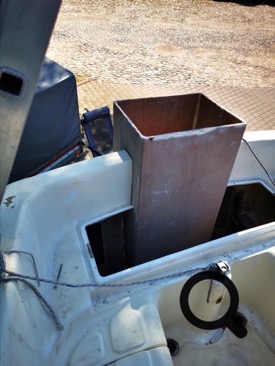
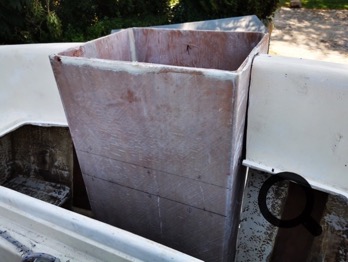
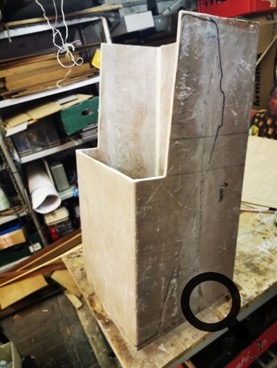
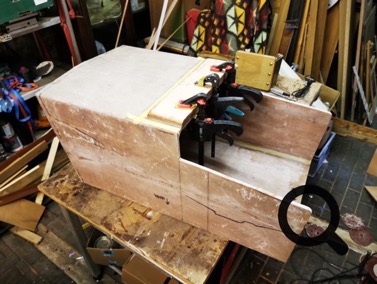
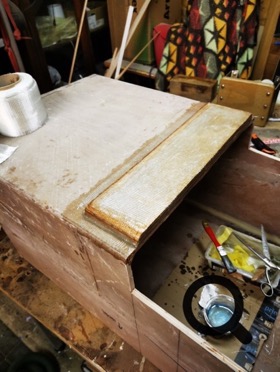
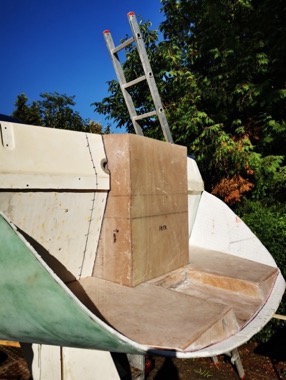
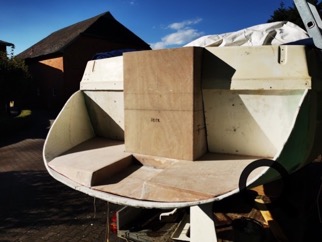
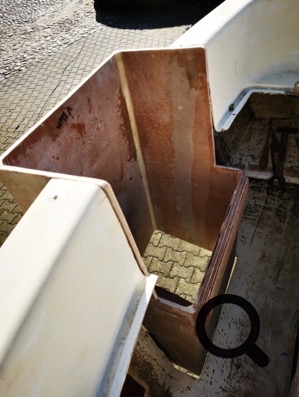
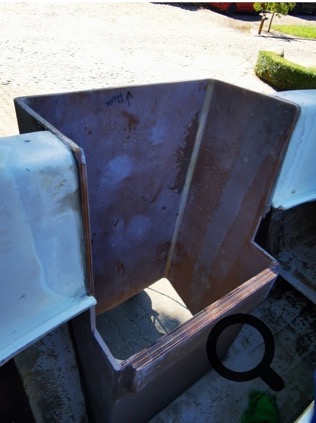
I invented an engine well with the dimensions 40 x 50 x 100 cm. It must now be fitted into the stern.
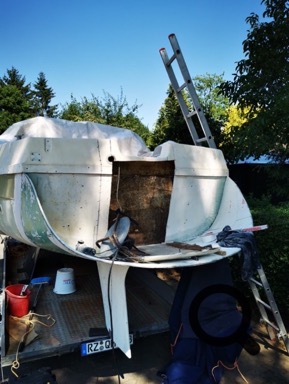
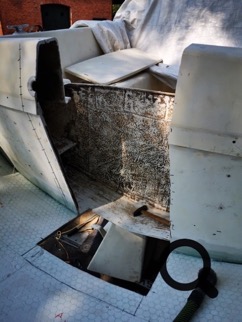
The stern and part of the bathing platform had to be added
be sawed in. Not a nice feeling to open the stern. The material thickness of the rear is almost 1cm thick and speaks for the indestructible quality of this classic ship, made in GB.
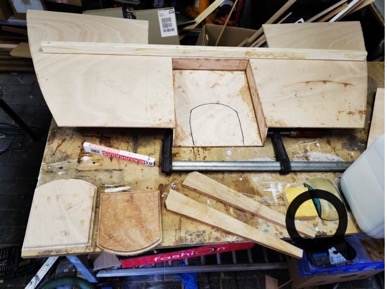
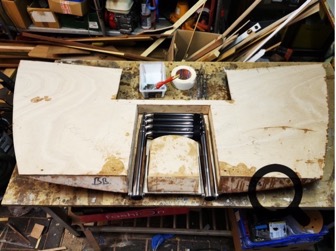
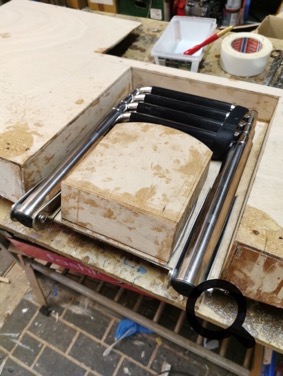
Before the engine well can be laminated into the fuselage, all preparatory work must be done. That takes a lot of time-consuming detailed work. Not only does the engine well itself have to be precisely adapted, but the level base of the bathing platform must also be created beforehand by also integrating a bathing ladder.
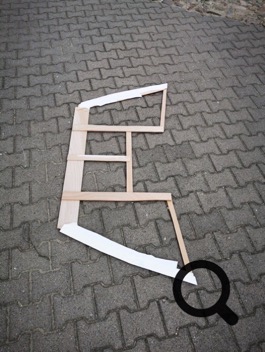
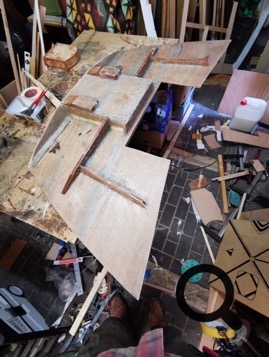
Everything has to be prepared very precisely beforehand using a template, before the actual base can be made.
It took a whole afternoon to make a template ... At least at 30 degrees C. even in the shadow ;-)
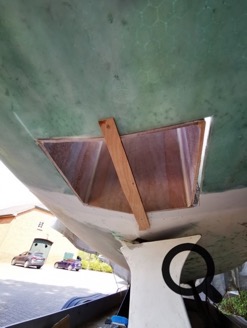
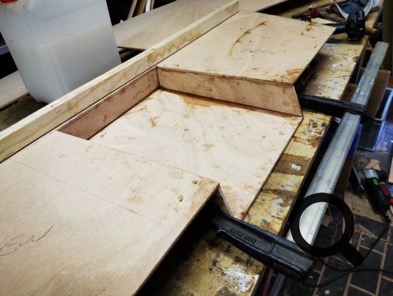
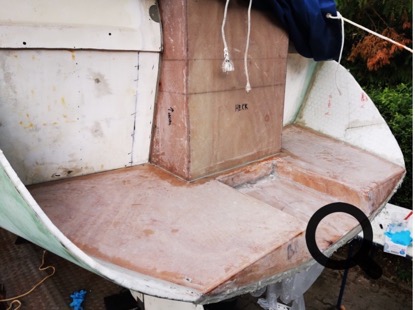
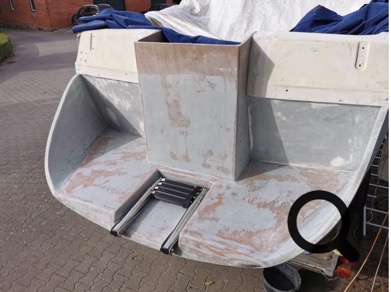
The bathing platform base is made from several 6mm plywood pieces. I created the actual base area using the template. The indentation for the foldable bathing ladder, like the base area itself, must be produced in such a way that the rain or sea water can drain away later. Therefore, a certain gradient must be planned.
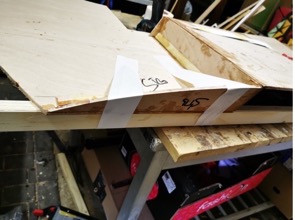
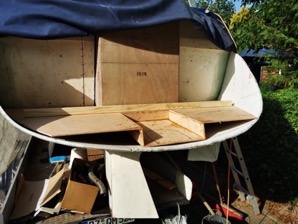
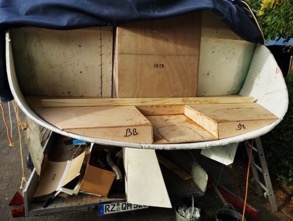
22.8.2020
The underside of the bathing platform base is now sealed with a layer of 800 fiberglass fabric and epoxy. you can see better and better how everything will look like. Due to the bad weather phase, I will probably not be able to glue the base into the stern-extension until next weekend.
24. - 27.8.2020
I have now also laminated the top of the bathing platform base and then covered it with tear-off fabric so as not to keep the epoxy-amine reddening on the surface because it is still being processed. In order to avoid right angles when laminating, I sanded the transitions round or drew a groove with thickened epoxy.
The outboard well is now also sawn and has a reinforcement glued on for screwing on the heavy outboard motor flange.
The additional wood board was glued on with thickened epoxy and then laminated with fiberglass.
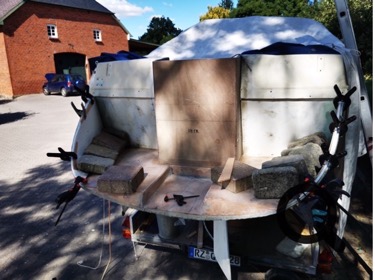
After the base was firmly glued in place, I glued in the second sandwich layer. With a stapler, clamps and stones I pressed the second layer onto the first layer until these are also firmly glued.
The special sandwich material must be soaked well with epoxy before they are glued together.
2.9. - 6.9.2020
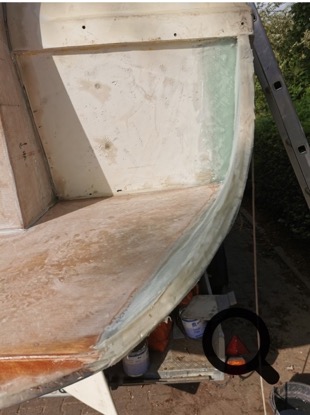
After the second sandwich layer had been properly glued on, I leveled the transition to the base plate with epoxy filler and then laminated two layers of 600 (bidiagonal) glass fabric on it in the next step.
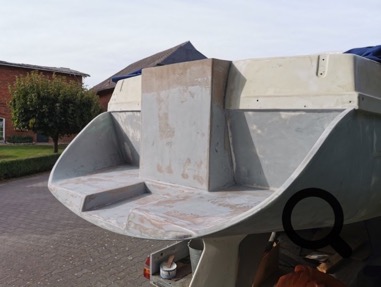
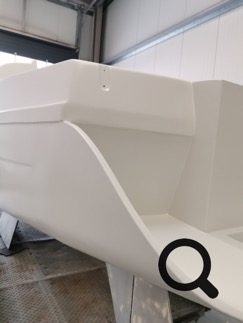
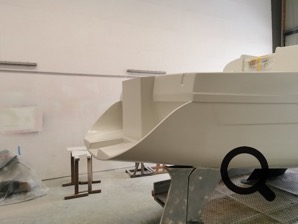
The fuselage or the outside of the stern extension could now also be filled. The rear extension is now getting more and more face ;-)
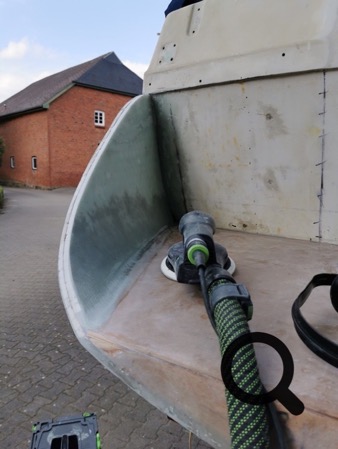
Today I removed the excess of the applied laminate with the Flex and then sanded it cleanly and brought it into shape.
In the next step I filled the irregularities again with thickened epoxy. The dried filler is then sanded flat in two days.
14.9.2020
In wonderful weather, today I was able to sand the leveled finishes flat.
Then I finally sealed the end with a layer of 400er glass scrim tape and epoxy resin.
16.9.2020
Today I covered the entire rear extension with a special, easy-to-sand 2C epoxy filler and now I have wait at least 24 hours.
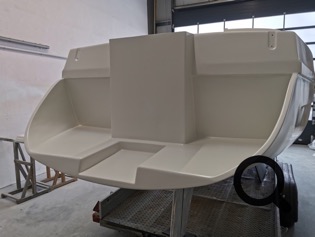
I have now sanded the epoxy putty and the work on the stern extension is now complete. The bathing ladder is only here for fitting ;-)
Teak on the stern extension
29.7.2021
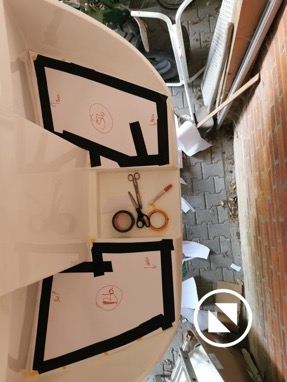
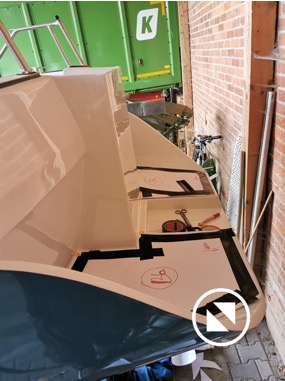
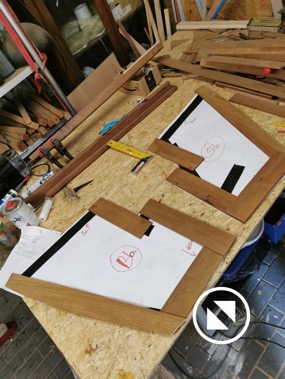
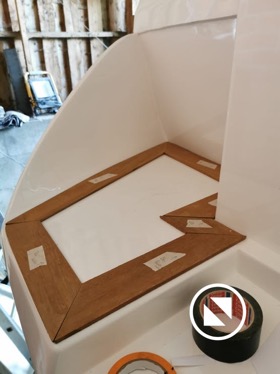
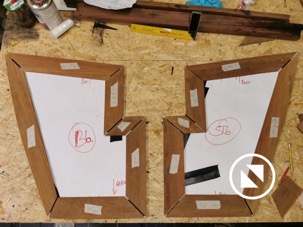
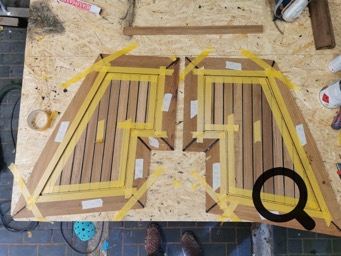
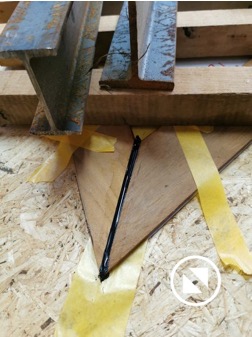
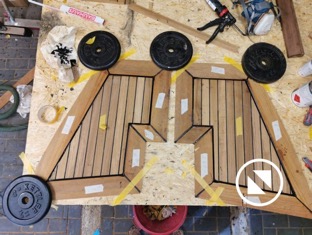
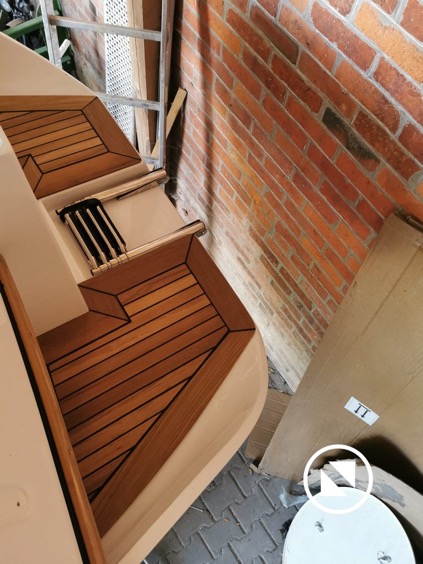
I'm finally ready to cover the stern extension with teak. Here, too, everything starts with a cardboard template. In the workshop I then sawed the teak to size, put it together like a puzzle on the template, fixed it and grouted it with Sikaflex 290DC. The gold band here also helps that the Sika does not get onto the entire wood after smoothing (with a small spatula). I then placed teak panels in the frames that I had previously sawn to size with a fine jigsaw blade. You need weights for even results when grouting!


